Glossy upright fronds rise from tuber-like roots that store water in an underground rhizome: the ZZ plant (Zamioculcas zamiifolia) is the houseplant that survives rough handling, and it multiplies from a division, a stem, or even a single broken-off leaf. Keep the cuttings warm, above 60°F (15°C), and every method works.
Many techniques for propagating Zamioculcas zamiifolia exist, which compensates for its rather slow growth. They all work well, too.
Note: some may be protected by plant patents, making it illegal to propagate. You can replace a dying plant, but can’t sell any.
Take your material from a mature plant carrying several stems, so removing one frond doesn’t leave a bare, lopsided pot.
Keep all cuttings and freshly potted divisions warm, since Zamioculcas rooting stalls in cold rooms below 60°F (15°C).
Which ZZ plant propagation method should you choose?
All of the methods below work on a Zamioculcas, but they differ in what you have to sacrifice and how long you have to wait. Use this table to pick before you reach for the knife or the glass of water.
Which ZZ plant propagation method should you choose?
Method
What you take
Time to root
Best for
Root (crown) division
A tuber carrying both roots and stems
Immediate — no rooting wait
Getting several full-sized leafy plants at once
Stem cutting in water
A leaf stem at least 6 inches long, or a whole scape
At least 3 weeks for roots, 3 more to reach an inch
Plants to give away, each with a full leafy frond
Leaf cuttings in soil
Individual leaves, pricked halfway in with the stem down
Slow — leaves may wilt before shoots appear
Raising many young plants in trays from one stem
Leaf cuttings in water
A single plucked leaf held in a shallow glass
Pot on once rootlets are at least an inch long
Watching roots and the tuber form on a windowsill
Seed
Fruits from hand-pollinated flowers
Longest — flowering, fruiting, then germination
Curiosity, since flowers appear only randomly indoors
Whichever route you take, warmth is the common requirement for roots and tubers to form.
Dividing a Zamioculcas plant into several bunches
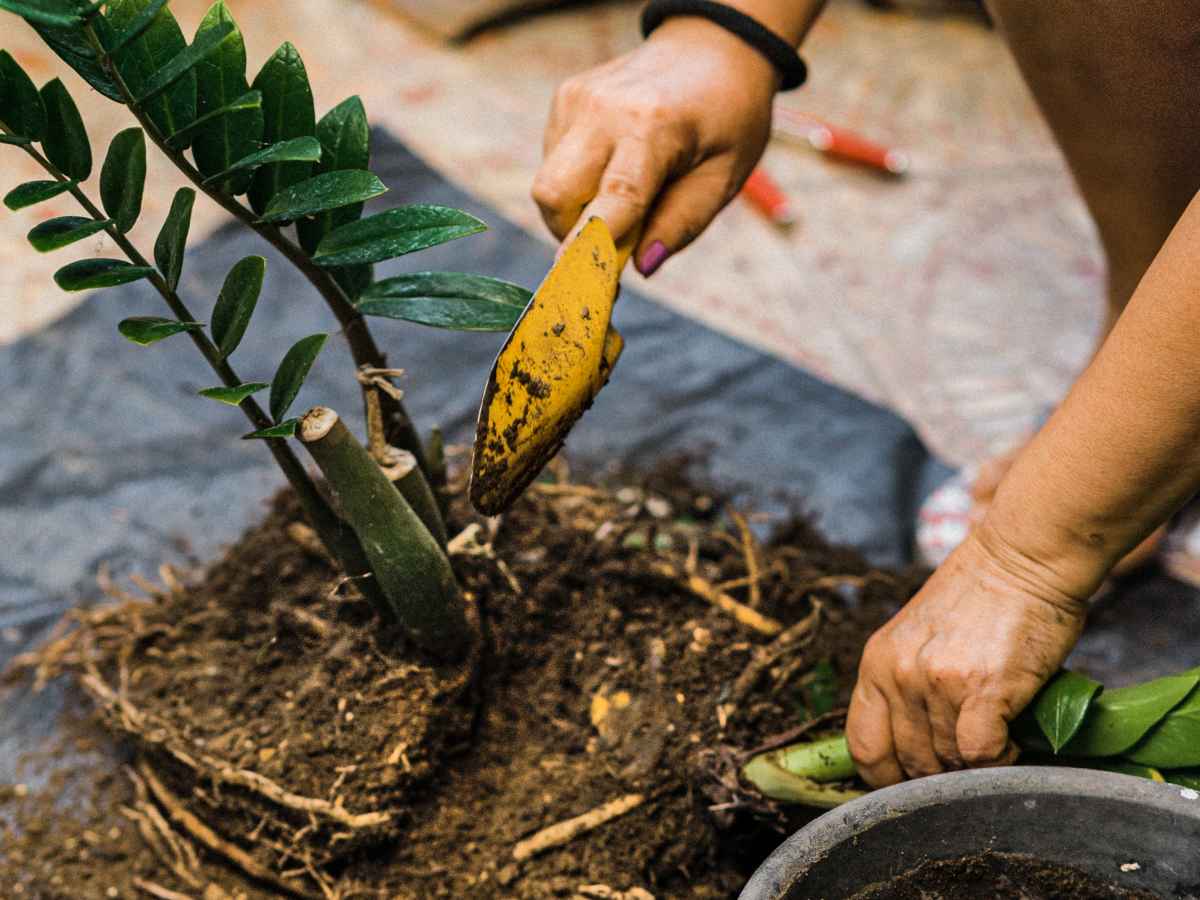
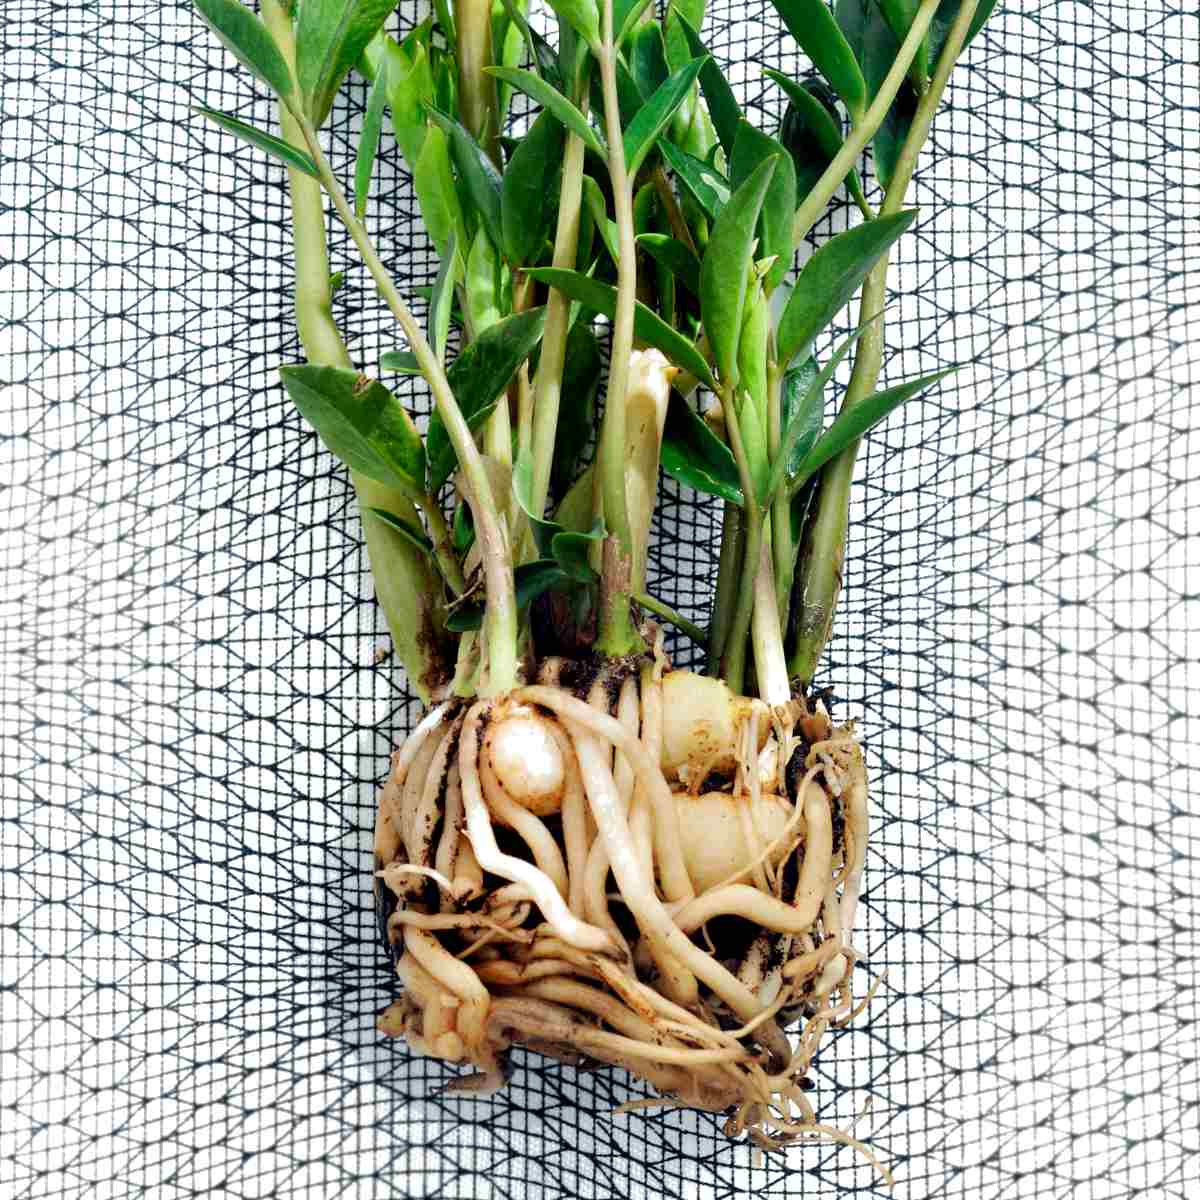
These plants grow tuber-like roots where water and nutrients are stored in an underground rhizome. After a few years of growing, several tubers develop that you can split. This is called crown division, or dividing the root clump for the Zamioculcas.
Separate a tuber bearing both roots and stems
Refrain from watering for at least 2 weeks.
Remove the plant from its pot delicately.
Separate a tuber from which both roots and stems are growing, threading roots out without damaging them.
It may require slicing with a clean blade. If wounded, cure the plant for a few hours (let it dry in open air in the shade).
Plant each separated plant into a clean pot with a layer of drainage at the bottom and light, well-draining soil.
This is the quickest propagation method. It has the advantage of producing several new leafy plants immediately.
Here’s a video that shows how to do so carefully. You can also just slice through the whole bunch with a sharp knife, but this creates more wounds that have to heal.
How to divide Zamioculcas zamiifolia, the ZZ plant
Preparing ZZ plant stem cuttings
Recycle your trimmings when you prune your plant after it has grown too large:
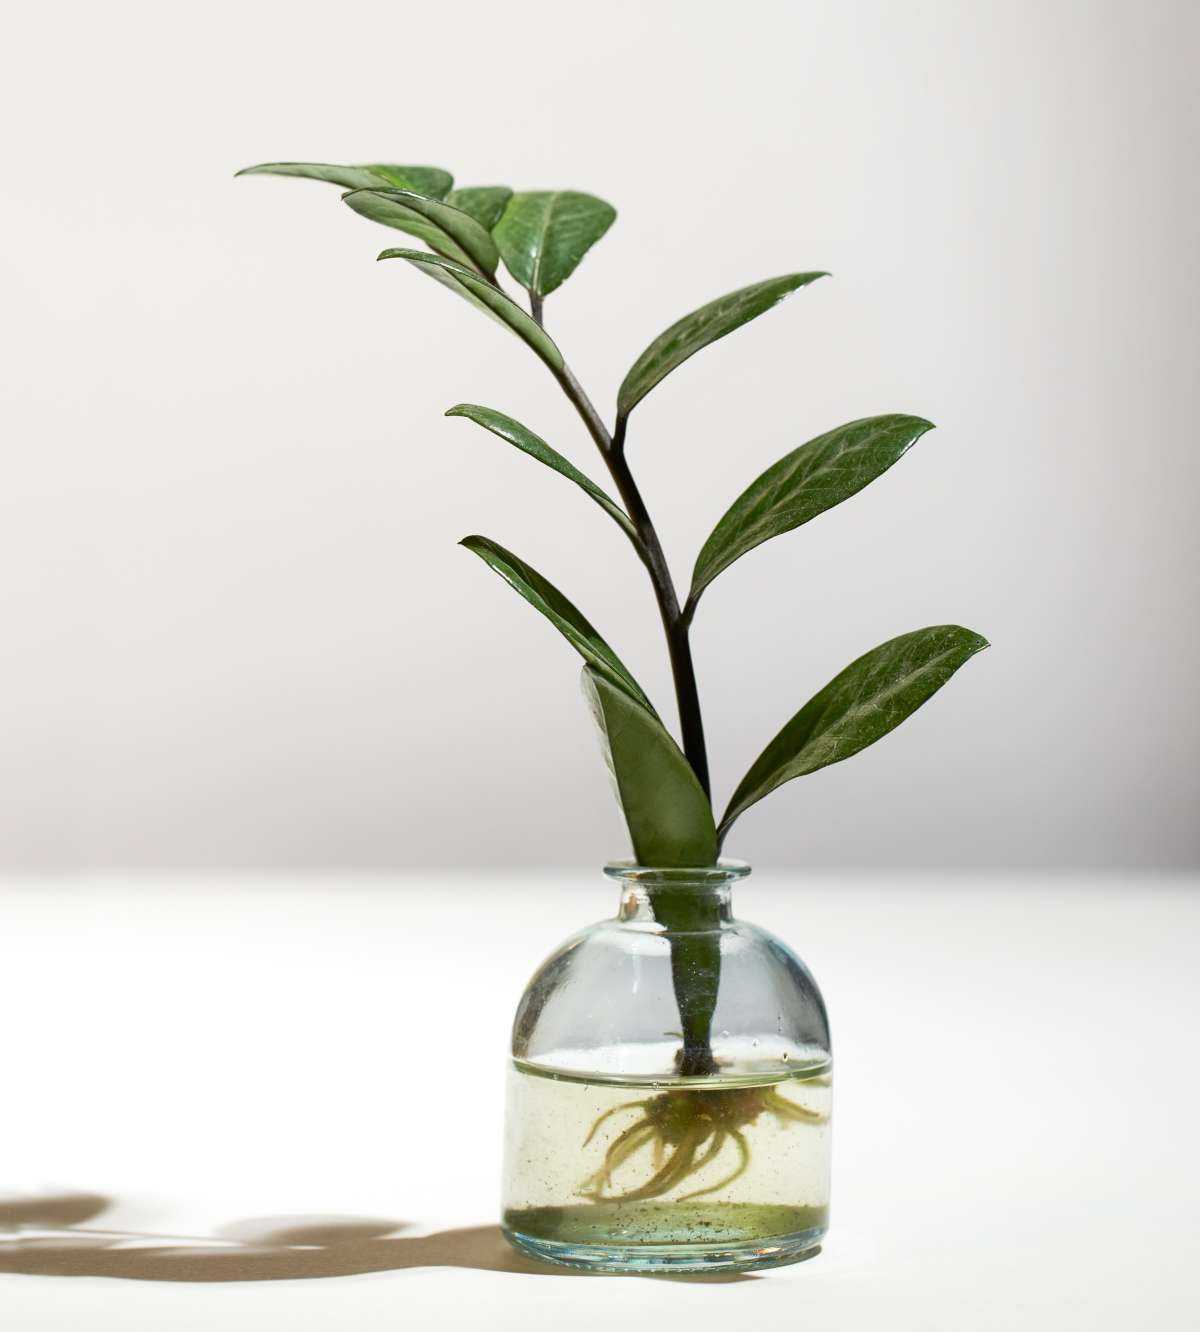
Roots form at the immersed tip of the stem
Snip leaf stems into portions at least 6 inches long. It’s also possible to keep a scape whole (looks much nicer 😊).
Place the Zamioculcas stem in a tall glass of water.
Change the water every three days (maximum one week).
Roots start developing at the immersed tip.
When roots are over an inch long, carefully transplant to a pot with well-draining soil and a hole at the bottom.
It takes at least 3 weeks for the first roots to grow, and they’ll be an inch long after 3 more weeks. The advantage of this method is that each propagated plant already has one full leafy frond to start with, which is great for giving away to friends.
Tip: you can also plant your Zamioculcas trimmings directly in soil, as long as you keep moisture constant (without drowning the plant).
Preparing Zamioculcas leaf cuttings
ZZ plant leaf cuttings with soil
This relies on the same properties as the previous method: roots develop at the base of leaves as they did for stems.
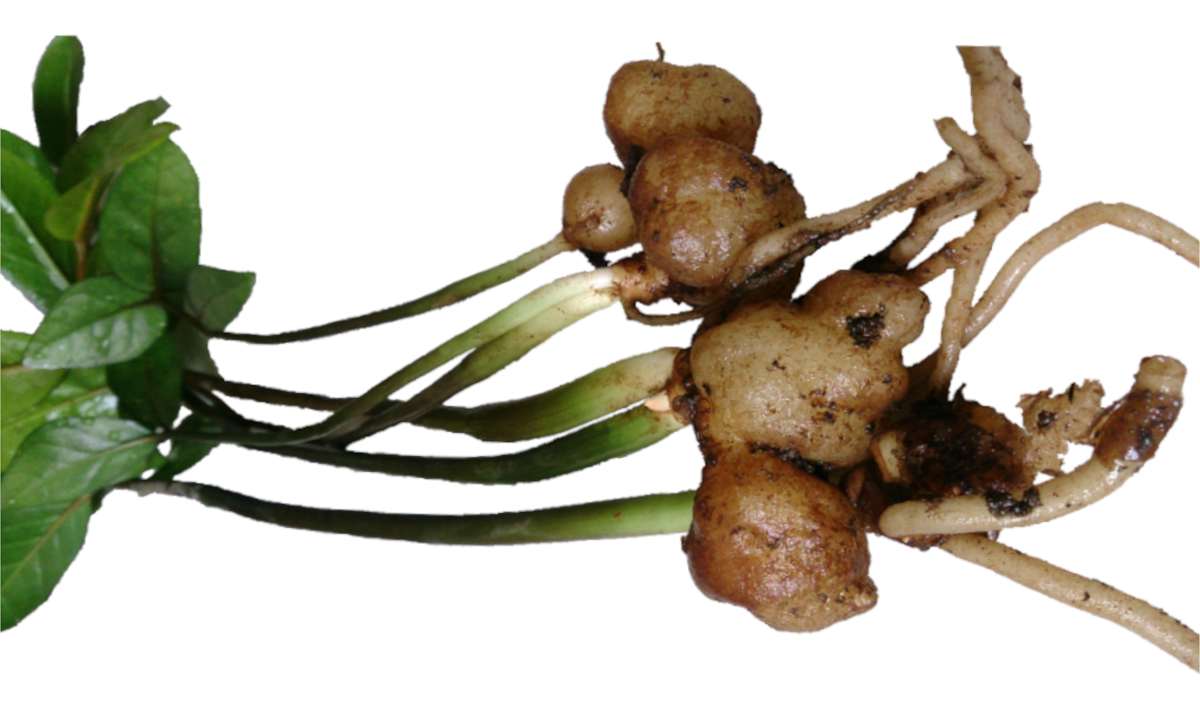
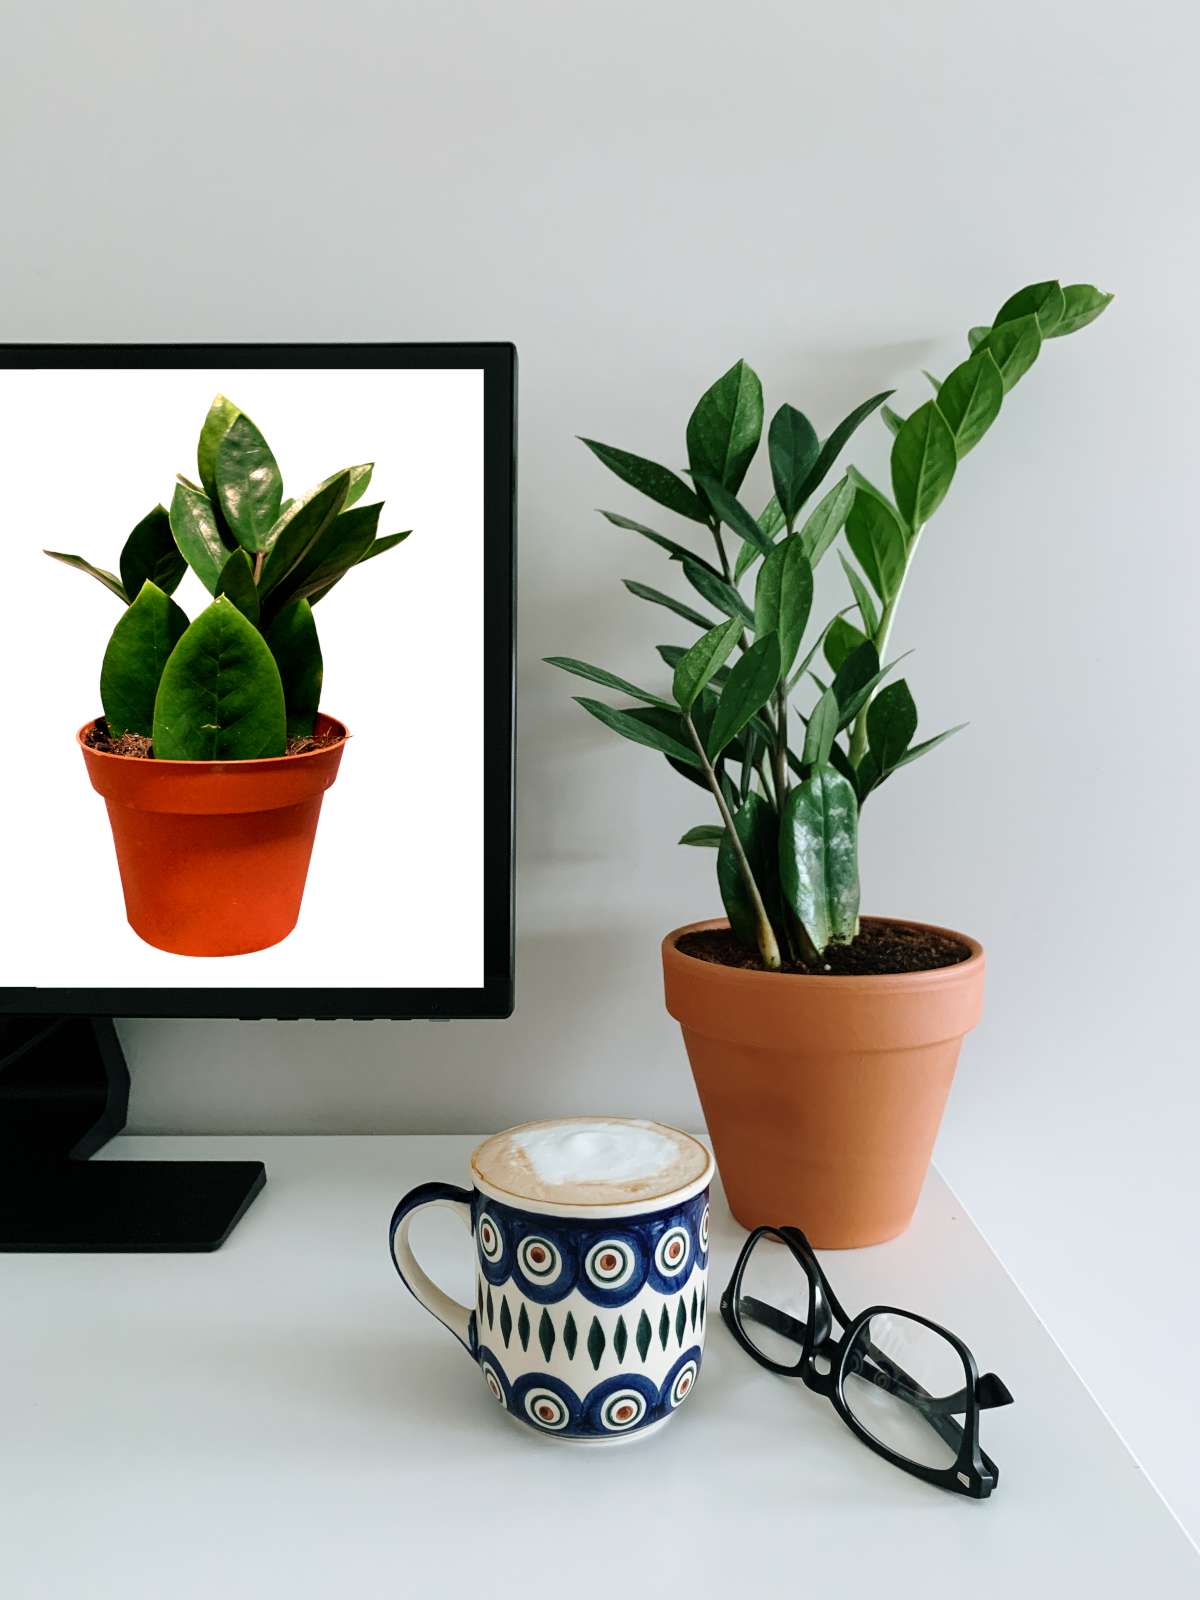
Pricked leaves form tubers, then new shoots
Picture above/at left: before (on screen) and after!
Cut a healthy stem from the Zamioculcas plant.
Detach each leaf from the plant by pulling it out delicately. Let the plant tissue scar for a couple hours (no direct sun).
Prick the leaves halfway into the soil, stem facing down.
Space leaves by about 2 in (5 cm) to each side), and water.
Seal the trays or wrap the pots in clear plastic to lock moisture in. Keep in a warm place or windowsill.
Leaves may wilt away, but tubers start forming and eventually new shoots appear.
Note: When propagating dark or black ZZ plants – fresh new shoots always start off bright green and only turn black as time passes.
ZZ plant leaf water cuttings
Much as you would sprout avocado from seed, you can grow ZZ cuttings from leaves directly in water.
from a healthy stem, pluck a leaf from your ZZ plant
place it in a shallow glass with the cut stem in water
you can hold the leaf with toothpicks or a bent paperclip (don’t use copper wire)
replace and replenish the water often to protect against algae (a piece of wood charcoal in the glass helps, too).
roots and a tuber start growing
plant in soil when rootlets are at least an inch (3 cm) long (or later if you find it nice).
You can see what this looks like on this page about the raven ZZ.
ZZ plant propagation from seed
This is the least common method of multiplying a Zamioculcas. Flowers appear randomly and have evolved to be pollinated by crawling insects, something offices and houses don’t have much of!
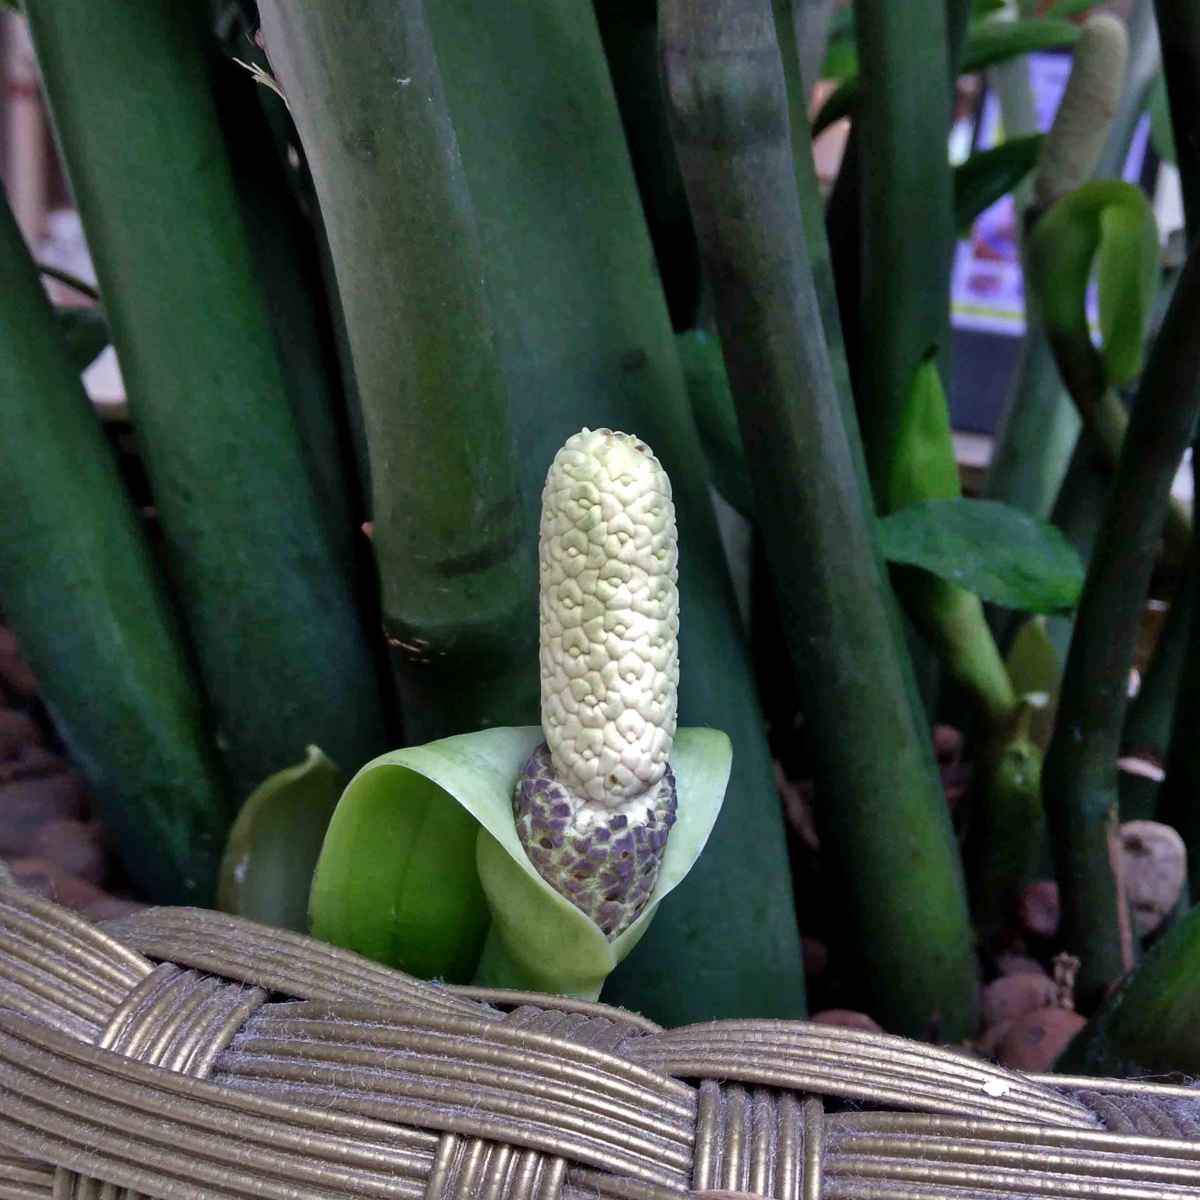
Male flowers at the tip, female ones at the base
The flower has two different portions: the tip bears a lot of small male flowers, and the base (in the husk) carries many tiny female flowers. As sterile zone separates both to reduce self-pollination.
When the female flowers are ready to be pollinated, the husk (or spathe) folds back and the flower bends down to the ground, granting access to crawling insects (anything from earwig to ground beetle, there is no specific species).
These are attracted from flower to flower, and their bellies brush up against the male portion before reaching the female portion.
A few flowers develop into fruits that bear seed.
It’s possible to mimic the path insects would follow with a moist, fine paintbrush at the appropriate time. Fruits appear with seeds inside them. Sow the seeds and, in time, they’ll germinate.
Image credits (edits Gaspard Lorthiois):
CC BY 2.0: Rusty Clark, CC BY-SA 2.0: 阿橋 HQ, CC BY-SA 3.0: Mokkie
Brian Robles, Flower Council Holland, Withfriesplease
shutterstock: nuclear_lily, Unsplash: Kristian Angelo, Pino Nguyen
Written by Gaspard Lorthiois | Loves helping out, especially when it comes to growing things. Worked in herbal medicine, runs a farm, and dabbles in tech. Master's degree and engineer.

_roots.jpg)