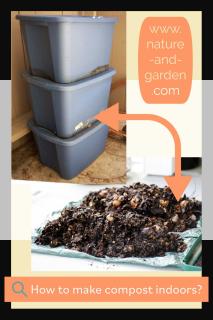

Living the urban life in an apartment but would nonetheless love to make your own compost?
Even though it seems impossible at first glance, a technique called vermicomposting will let you to make real compost in an apartment.
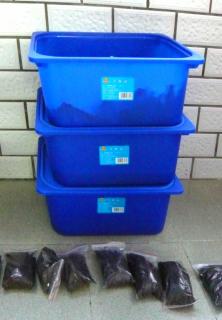
Here is how to build your own apartment vermicomposter.
Vermicomposting (from vermicompost) is a method that lets you produce your own compost indoors without any smell.
 Compost worms (called Eisenia foetidia) live in a container or box in which you throw organic matter.
Vermicomposting kits in stores can run quite expensive. It is perfectly possible to make your own yourself instead.
Simple plastic bins are great to start, or you can also ask fishmongers or supermarkets for Styrofoam boxes that are used to package food for instance.
Depending on the size of your household you may need to adjust the size. For example, a 2-person household needs bins that are 20 inches (50 cm) wide and 16 inches (40 cm) across. If 4 persons live together you’ll need roughly double the area, which translates to about 30 x 20 inches (70 by 60 cm).
In all cases, the bins should be at least 8 inches (20 cm) deep. And now for the handywork!
This is the ground floor (at the very bottom). It’s a bin that will recover liquid compost juice. Nothing to do here.
This bin has tiny holes that are too small for worms to pass through. It will catch the ready-to-use compost.
 This bin has large 4-inch (10 cm) openings along the bottom, again covered with a wire mesh screen.
For this bin, the entire bottom is removed so that it can serve to increase the capacity of your tower (except if the 3rd bin is already much deeper than the other ones).
Additionally, remember to close the top bin with a lid with a couple small holes drilled into it, because worms prefer working in the dark. If you found Styrofoam bins for this, you can also paint your apartment composter with dark paint to block out the light.
Once your apartment composter is ready:
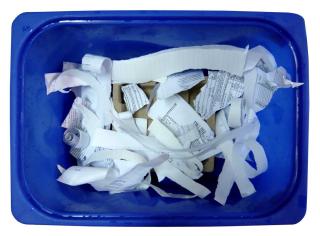
 add a few leaves and twigs, as well as wet newspaper mixed in with soil: the “bedding”.
Two weeks later, you can add your first worm food:
Remember, don’t add: