
To give your dahlias a head start and especially to multiply them through cuttings before the final planting, forcing is a practical and effective method. Simply pot up your tubers in a heated area starting from February-March.
→ Also read:

Did you know dahlias originally grew for tuber consumption? They reached Europe only in the late 18th century. Today, this Asteraceae family member, native to Mexico, has thousands of cultivars mainly for ornamentation!
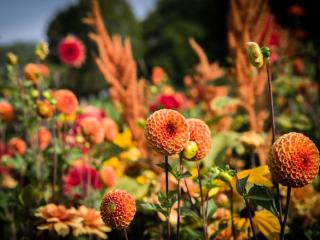
Its head might resemble a simple or double flower, like that of a daisy. It might have the grace of an anemone or water lily flower. But forms like cactus dahlias turn into stunning spiked balls. Dahlia sizes vary in stem height and flower size. This flexibility makes them perfect for flower beds, planters, or as cut flowers.
Growing dahlias yourself lets you enjoy them more and even share them with friends. Often sold individually or in threes as large tubers, they can get pricey if you’re planning to create a display across your entire garden. Plant them in sun-warmed soil around April or May (refer to our planting days calendar for more details).
In February and March,
 Small crates or large polystyrene containers that stand about 8 inches high (20 cm) are perfect. Make sure water can easily drain out through the drainage holes. Fill them with sand or a lightweight soil mix, and be sure to moisten it well.
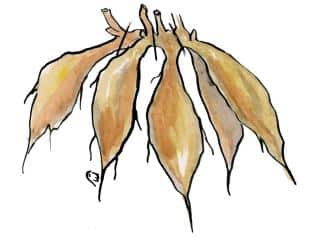
 With a sharp and clean knife, get to work splitting the tuber bunches. Sprinkle any cuts with crushed charcoal. You can multiply a single dahlia into 4 or 5 depending on tuber size. But if you’re planning to prepare cuttings later on to get even more, it’ll help to keep the tubers rather on the large side.
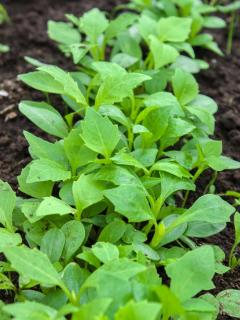
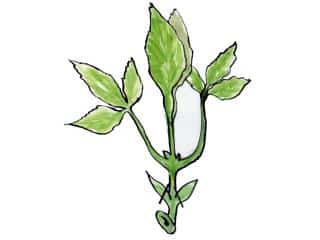
Once shoots start appearing, you can start taking cuttings nearly immediately. To avoid weakening your plant, stick to taking weaker shoots, those on the side. They wouldn’t produce flowers on the main plant anyways as they are, so turning them into self-standing plants will give them a chance to bloom.
But patience! Wait until they’re about 3 inches long (7-8 cm) before cutting.
 Gently brush away soil to reveal tubers and use a grafting knife to pull or cut the shoot, taking a chunk of tuber with it.
These cuttings will grow as strong as their parent plant and bloom together with them. Once there’s zero chance of frost, typically around April or May, transplant your rooted cuttings in the garden:
→ More Dahlia insights: