After the last tasks of fall and before putting them away, it is important to thoroughly clean your tools. Maintaining them properly will let them last a lifetime. They’ll stay effective and also won’t spread diseases in the vegetable patch and in flower beds.
If you weren’t able to practice regular maintenance during spring, summer and fall, seize the chance offered by winter dormancy. Give your tools a check-up before setting them to rest, too! They’ll be ready for use after the winter hibernation!
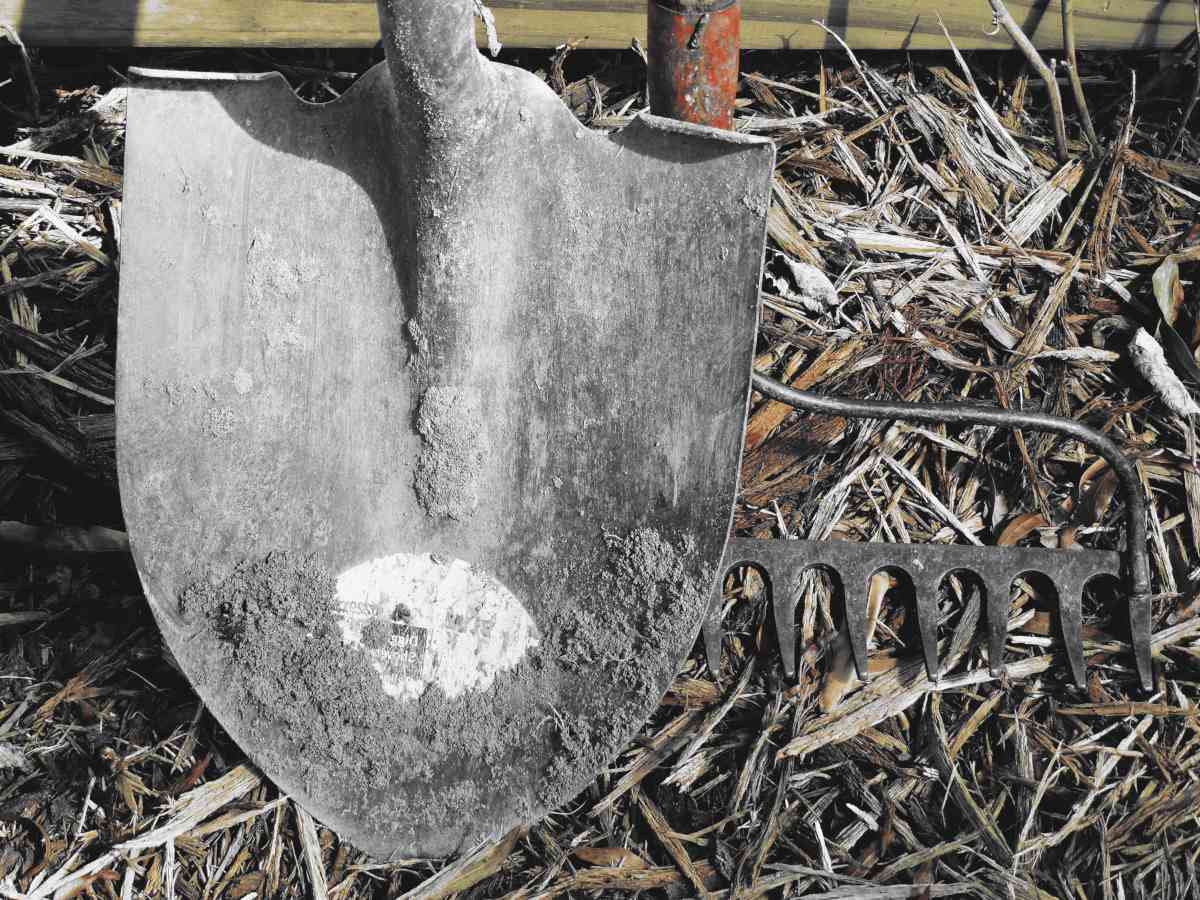
Remove caked dirt that’s stuck on spades, hoes, forks, rakes… Use a quackgrass brush or a painter’s spatula for this. If there’s a lot of caked mud, soak the tool in water first to soften it, it’ll be easier to brush off.
Remove tree sap and organic matter from pruning equipment with rubbing alcohol.
Scrape soil off while it is still damp, and the job takes seconds.
When soaking, stand only the metal head in the water: wetting a wooden handle swells it only temporarily, and the repeated swell-and-shrink cycles, plus rot, eventually leave the head loose.
On hand pruners, open the blades fully and clean the pivot and the spring, where hardened sap stiffens the action.
Each maintenance job on the list calls for its own product, and using the wrong one either wastes your time or damages the tool. The table below pairs every job described in this article with the tools it applies to and the material you need to hand.
| Job | What you use | Tools concerned | What it achieves |
|---|---|---|---|
| Remove caked dirt | Quackgrass brush or painter’s spatula, after soaking in water | Spades, hoes, forks, rakes | Strips off dried mud so the metal is bare again |
| Remove sap | Rubbing alcohol | Pruning equipment | Lifts tree sap and organic matter off blades |
| Remove rust | Very fine sandpaper, the finest possible | Any rusted metal part | Leaves a smoother surface where less moisture can collect |
| Repel water | Oil or WD-40, reapplied every 3 months | Tools you don’t use very often | Keeps rust from starting again between uses |
| Disinfect | 90-proof alcohol or white vinegar, then dry fully | Hand pruners, shears | Stops tools carrying diseases from plant to plant |
| Disinfect containers | Chlorinated water, then rinse and dry | Empty pots, garden boxes, stakes | Clears disease from anything reused next season |
| Sharpen | Metal file, then a whetting stone along the bevel | Blades of sharp and cutting tools | Restores a clean cutting edge |
| Protect | Flax seed oil (linseed oil), with brush or rag | Unvarnished wood handles and metal parts | Extends handle lifespan and keeps water and rust away |
Work down the list in order — clean first, then derust, disinfect, repair, sharpen and finally oil — and each step makes the next one easier.
Rub very fine sandpaper on rust spots, the finest possible so that you won’t scratch the metal any further. The smoother the surface, the less moisture can collect and start rusting again.
For tools you don’t use very often, spray a water repellent like oil or WD-40. Note that this wears off even if you don’t use the tools, so set up a schedule to repeat the application every 3 months (every month in moist tropical places).
When removing rust or stains from a blade’s flat faces, many guides suggest sanding along its length rather than across, though sharpening the edge itself often calls for different stroke directions.
Look for rust in the hidden spots too: the pivot and spring of hand pruners, and the socket where a spade blade meets its handle.
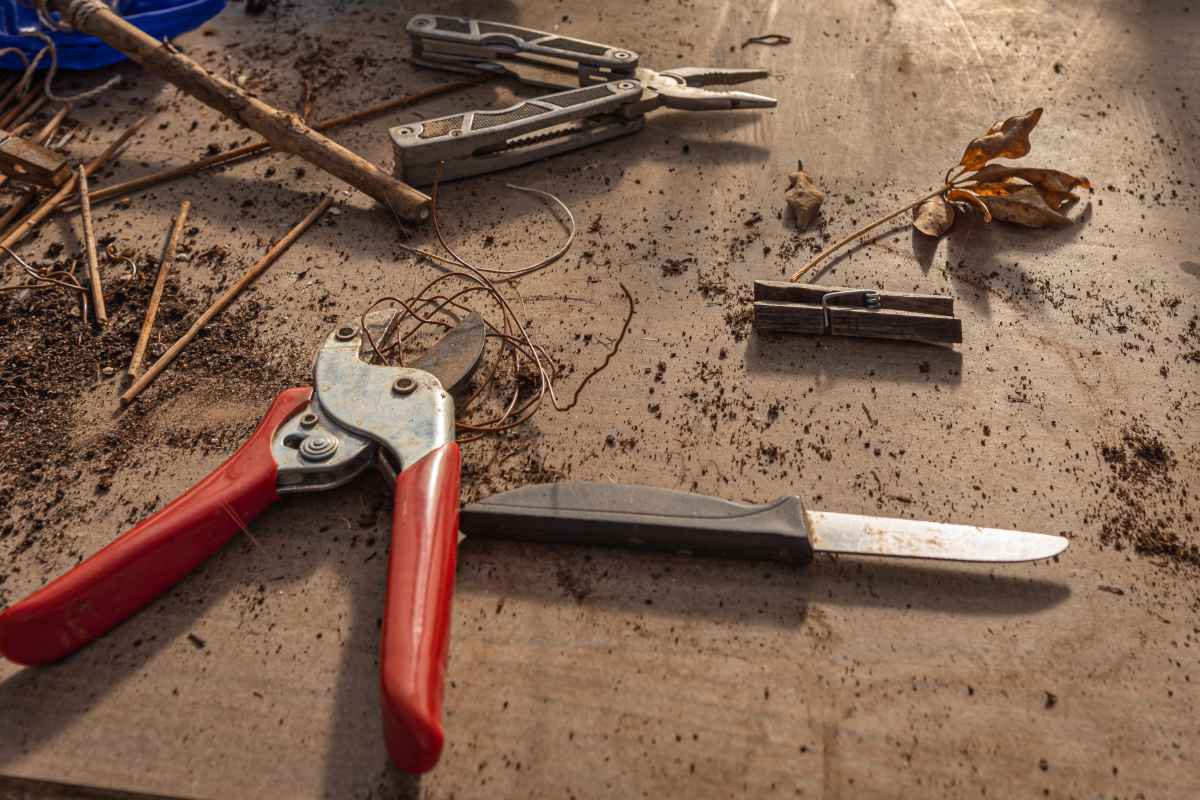
Tools used to handle plants might harbor and spread diseases. Disinfect hand pruners, shears… with 90-proof alcohol. White vinegar is also a great tool disinfectant, but remember to set the tools to dry out completely before storing them.
Clean empty pots, garden boxes and stakes with chlorinated water. Rinse and dry.
Disinfect only bare metal: leftover sap and soil shield pathogens from the alcohol.
Open hand pruners and shears fully so the disinfectant reaches the pivot and the inner faces of the jaws, where sap and plant debris collect.
Prolonged moisture, not chlorine at tap-water levels, is what rusts steel, so rinse pots and metal parts, dry them promptly and thoroughly, then wipe the metal with a little oil.
Keep a small jar of alcohol and a rag with you while pruning, and wipe the blades between plants whenever you cut into canker or dieback.
Inspect your equipment to locate and repair whatever might be broken. Tighten screws and replace or fix defective latches and handles (wood handles that start splitting can become dangerous).
Sand any rough or greyed handle wood smooth before the oiling stage.
Check the pivot bolt of hand pruners and shears: tighten it until the blades pass close against each other, but stop before the action starts to bind.
Many quality pruner brands, including Felco, Bahco, ARS and Corona, sell replacement springs and blades separately, so fitting a new spring often beats fighting a tool that no longer springs open.
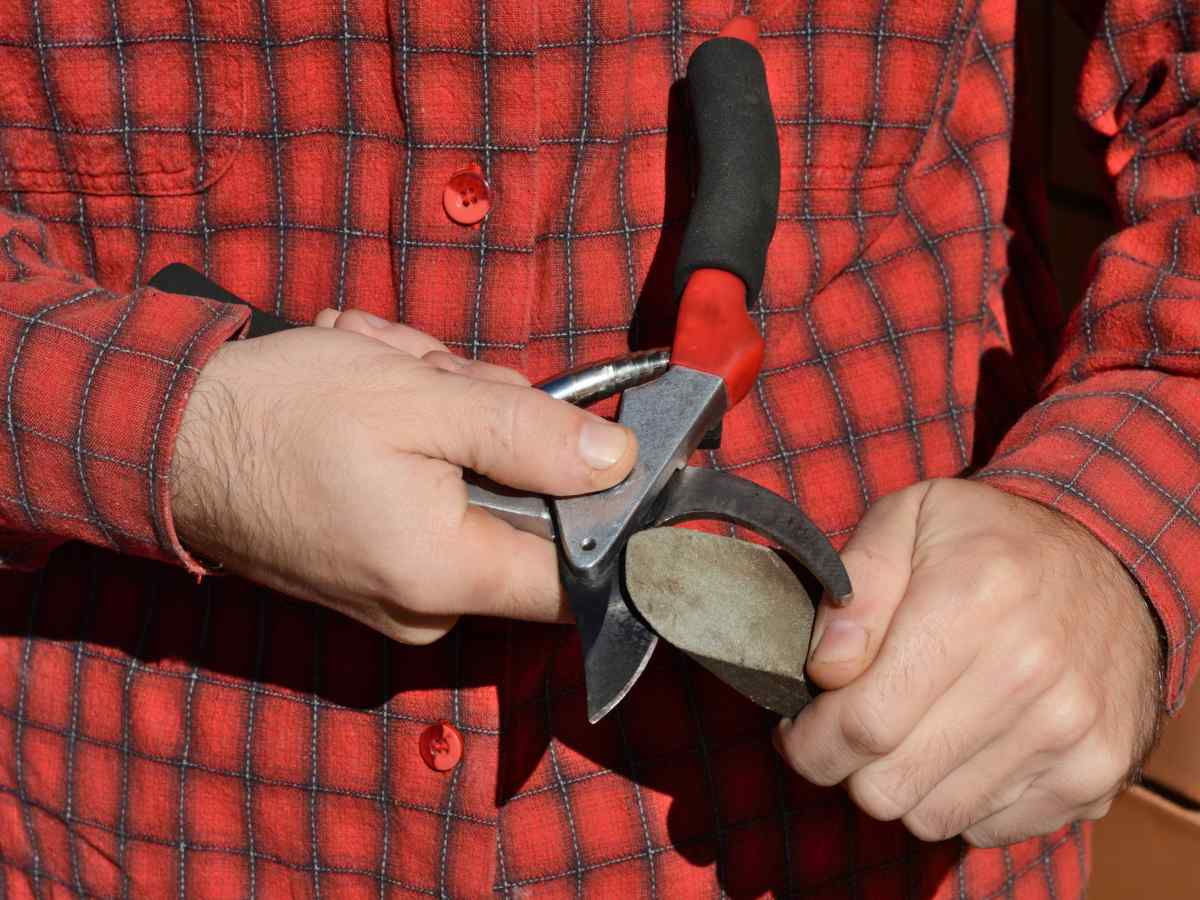
Run a metal file along the blade of sharp tools.
Use a whetting stone to sharpen cutting tools, taking great care to follow the angle of the bevel.
On bypass secateurs, sharpen only the bevelled outer face and leave the flat inner face untouched, or the blades will stop meeting cleanly.
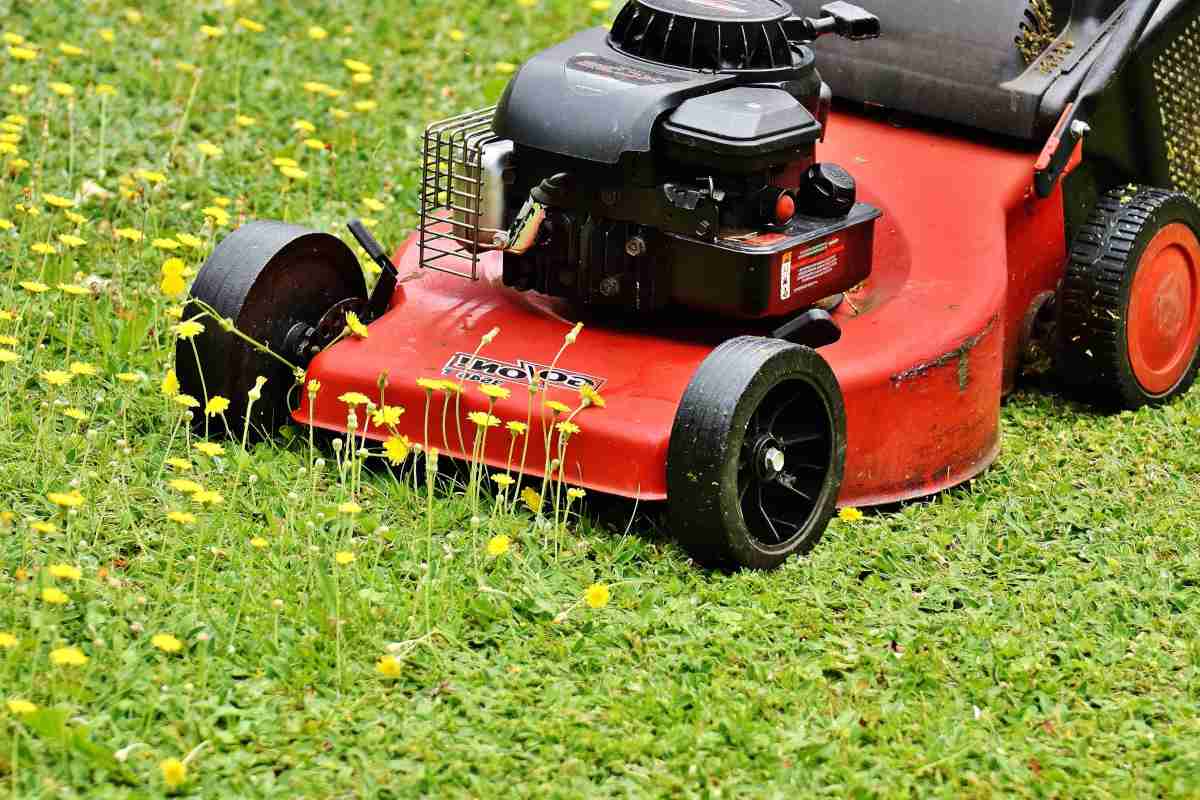
Gas-powered tools must be flushed every year.
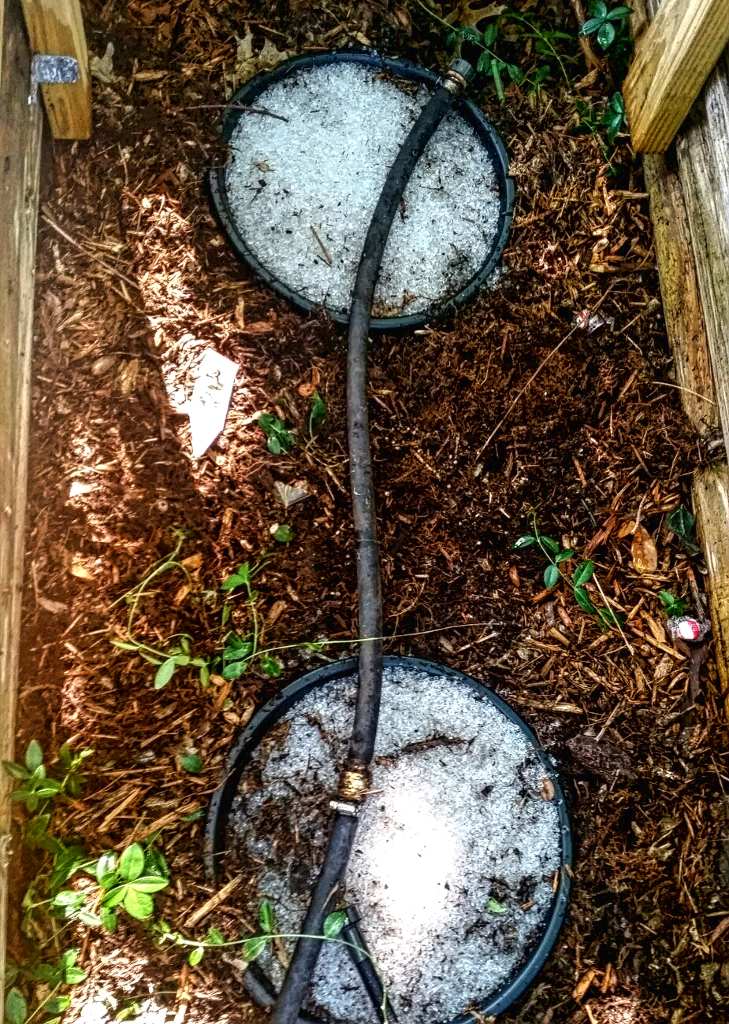
Also check that you’ve purged the watering hose, it might burst from freezing.
If you prefer to store the tank full, add a fuel stabiliser and run the engine a few minutes so treated petrol reaches the carburettor.
Close the indoor stopcock, then open the outdoor tap to let the last water drain out.
Rub the equipment with flax seed oil (linseed oil). Use a brush or rag.
This will extend the lifespan of wood handles when not varnished, and will keep water and rust away from metallic parts.
Hang the rag or brush covered in linseed oil in a very well-ventilated place. As the oil cures or dries, it forms a water repelling barrier. This process generates heat, to the point that it can actually catch fire. To prevent the heat from building up, it’s important to let air circulate well around the oil-imbibed item.
Put your tools away in a dry spot, metallic parts facing up. Make sure children can’t access sharper tools or fall atop them.
Martine de Saint Jan, minor edits by Gaspard Lorthiois
Hang spades, hoes and rakes from wall hooks so their blades never rest on damp concrete, since prolonged contact with moisture encourages rust and shortens the life of steel tools.
A bucket of dry sand with a little oil stirred through it scours and lightly oils trowels and spades every time you plunge them in.