Home » Gardening » Lavender wand, how to make this scented ornament
Lavender wand, how to make this scented ornament
0
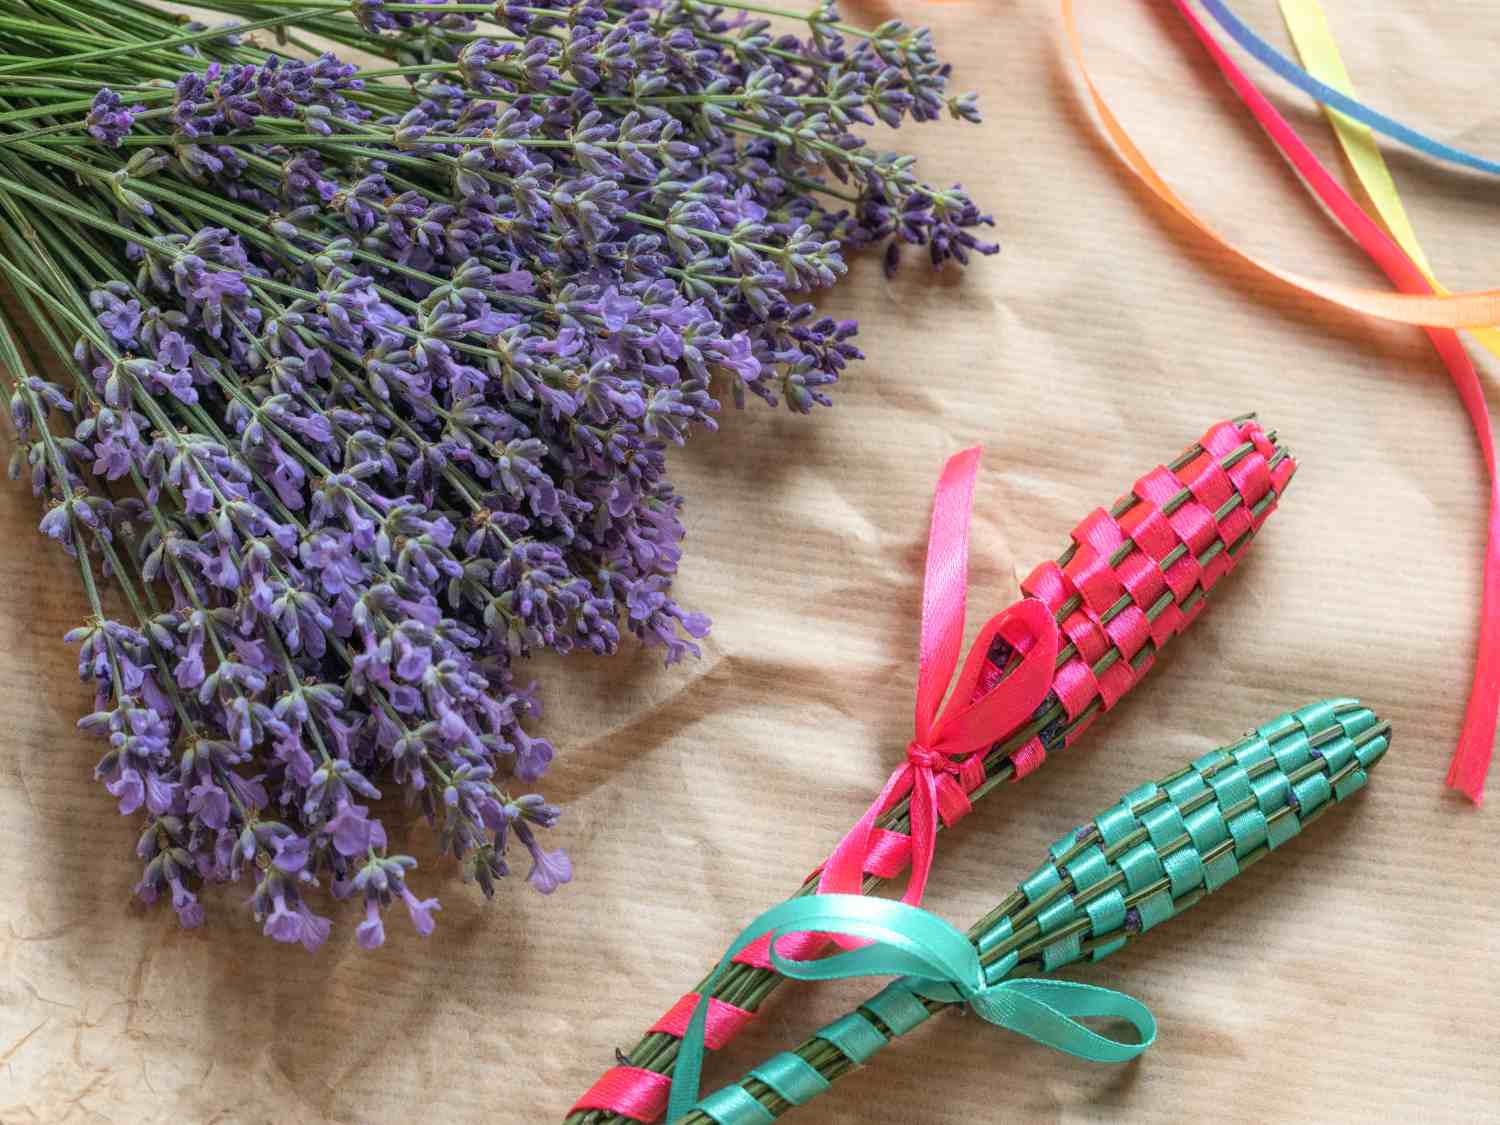
A lavender wand is a gorgeous, fragrant handicraft made from lavender flowers. Simple to craft, it is an ideal gift for all.
Quick lavender wand facts
Made from – Lavender, ribbon Difficulty – moderate, like macramé Time required – 1 hour per wand
Suitable for – patient kids age 8+, adults – Season – summer, early fall
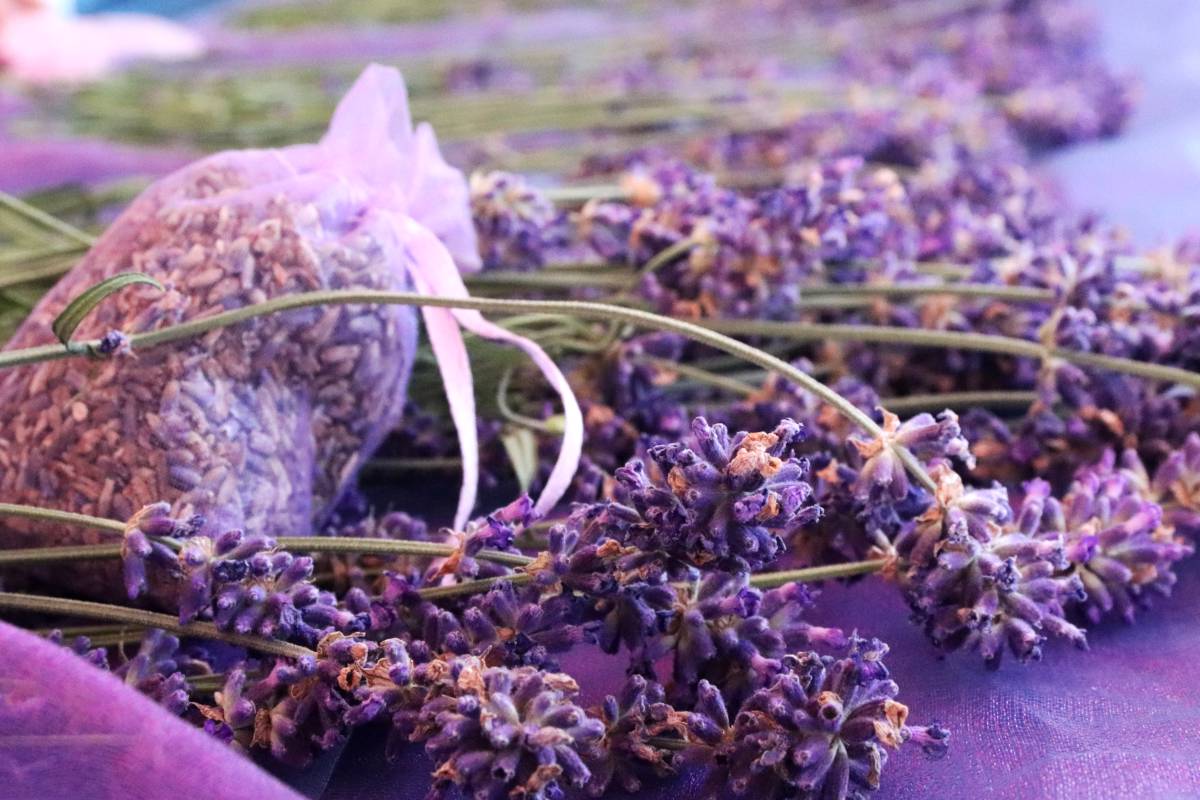
It has been a timeless practice to put dried lavender inside closets to keep clothes smelling fresh and moth-free. Stress-relief, deodorizer, soothing headaches… a lavender wand serves all these benefits in a neat, convenient manner. Elegance and beauty are part of the fun, too!
The scent will last for months. If it fades a bit, squeeze or tap against your palm to bring back that dreamy smell.
Any of the lavender varieties will do.
Not growing lavender? Check with your neighbors and strike a deal: flowers for a wand! Better yet, craft a few together for company.
Let’s get down to business now!
Materials
For one lavender wand
10 to 30 stems of lavender flowers (stalks at least 8 inches or 20 cm long)
5 feet (150 cm) of satin ribbon
1 pair of sewing scissors
1 pair of gardening shears
1 toothpick
1 straight pin
Note
You can also make a wand out of only 10 stems depending on the size you want and how many stems you have.
If your lavender variety has thicker stems (some lavandin varieties do) or has short, stout flowers like those of French lavender, you might want to use less.
Also, some people prefer long, thin wands which are easier to roll between your palms.
Now for the lavender wand instructions!
Steps to make a lavender wand
Step 1 – Harvest lavender flowers
Gather 30 stems of lavender flowers. This is good for 1 wand.
It is advisable to harvest flowers that are just starting to open as this will prolong the scent. Also, each tiny lavender flower will remain firmly attached to the stalk instead of falling off.
Also, use stems that are freshly cut, ideally on the same day. Older cuts are dry and turn brittle. This makes them harder to handle and bend, since they might break.
The best time to cut the stems is in the morning when dew has just dried out.
The longer you cut your stems, the easier it will be. Cut them as long as you can.
Step 2 – Clean the stems
Clean stems by removing leaves and unwanted side stems. Keep the larger, center flower cluster.
Use garden scissors for this. It is easier and more efficient.
You can also pinch the stem lightly near the bloom with your fingers, and pull the stem through. Leaves will catch on your fingers and the stem comes out clean.
Step 3 – First knot
Hold the stems all together in a bunch and tie the base of the flowers with one end of the ribbon.
Make sure to leave at least 1 foot (25 cm) free ribbon at this end. This will be used for the final knot later on.
It helps to wedge the stems upright between your knees as you tie the knot.
Step 4 – Fold stems and trap the flowers inside
Fold the stems to cover the flowers. Pretend you’re encasing the flowers in a cage.
Hold the clump of flowers upside-down, grasping it by the flowers themselves.
Bend the stems back four or five at a time, to spread them evenly around the flower clump.
At this stage the tip of the wand looks like a bird cage.
The flowers are trapped inside and both ends of the ribbon trail from within the stems.
From here onwards you can grab the wand just below the bulge.
Step 5 – Pairs & ribbon start
Group the stems in pairs.
You can use a paperclip or small rubber bands to keep the pairs in place.
For thin wands with less stems, no need to make pairs.
Oppositely, for thicker wands, not every single stalk need be part of a pair. Stems that are far underneath will simply remain covered by the orderly, paired stalks.
Bring the longer end of the ribbon up along the flowers, through the stems. Make it exit near the center of the bent, folded stems.
Step 6 – Weave the ribbon through the stems
Weave the ribbon over a pair of stems and then under the next.
Weave a first circle completely around the bunch.
If a few flowers stick out, simply nudge them back in the “flower cage” with a toothpick or popsicle stick.
Keep circling around the bunch until all the flowers are covered.
It should taper back to the point where only stems are inside because all the flowers are already enclosed.
Step 7 – Tighten the wand
This step is where you finalize the shape.
Go back to the start of the ribbon.
Wedge a toothpick under the first noose and pull it out to tighten it.
It feels a lot like tightening shoelaces on sneakers or boots.
Work your way forward down the wand, one noose at a time.
Run through the entire length of weaved ribbon.
With the toothpick, push the ribbon up so it touches the previous layer.
Make sure each row or layer is nice and horizontal.
Lavender flowers shrink as they dry. Making the ribbon very tight will keep the wand intact even until then.
Step 8 – Wrap the handle
Wrap the remaining ribbon at least 3 times around the base of the now covered flowers.
Strengthen it by sticking a straight pin which holds it tight.
Leave a length long enough to make the final knot.
Cut the extra ribbon with sewing scissors.
Use sewing scissors. A pair that is not appropriate for cloth might damage the end parts of the ribbon.
Step 9 – Final knot
Tie the remaining ribbon and the shorter loose end that’s poking out from the stack of stems. Pull it into a tight knot and then add a nice bow tie.
Step 10 – Cut long stems to the same length
If the remaining uncovered stems are too long, or if they’re not the same length, you can trim them with sharp garden shears.
Learn more about lavender wands
Back in days when cloth was expensive, lavender wands were a perfect solution since all that was needed was ribbon. This practice originated in the 17 hundreds (18th century), in French Provence.
To this day, only very few still master the art of making lavender wands, but they are very willing to share their knowledge!
This activity is time-consuming. It is a specialty product that cannot be automated. Making a single wand takes around an hour all in all, if you factor in the harvest time, weaving, and tightening. This explains the high price they fetch on market stalls. Since it easily last up to 4 years, a lavender wand is definitely worth the splurge and makes for wonderful, unique gifts.
Lavender also freshens and scents air inside a car.
Lavender oils and fragrances are relaxing and help fall asleep.
When you are stressed at work or have difficulty sleeping, a whiff of lavender will come to the rescue!
Smart tip on lavender wands
Green pigments may seep out from stems during the first few weeks after making the wand. Hang the wand in your closet instead of putting it directly on top of the clothes. This will avoid stains on your clothes.
Even the tightest lavender wand will inevitably loosen up as flowers dry out. You can tighten it again, see step 7.
Written by Gaspard Lorthiois | Loves helping out, especially when it comes to growing things. Worked in herbal medicine, runs a farm, and dabbles in tech. Master's degree and engineer.
 10 to 30 stems of lavender flowers (stalks at least 8 inches or 20 cm long)
 Fold the stems to cover the flowers. Pretend you’re encasing the flowers in a cage.
 Weave the ribbon over a pair of stems and then under the next.
 Wrap the remaining ribbon at least 3 times around the base of the now covered flowers.
 This activity is time-consuming. It is a specialty product that cannot be automated. Making a single wand takes around an hour all in all, if you factor in the harvest time, weaving, and tightening. This explains the high price they fetch on market stalls. Since it easily last up to 4 years, a lavender wand is definitely worth the splurge and makes for wonderful, unique gifts.