Mushroom lovers, great news! For one, they are a good source of nutrients for our bodies. For the other, you can grow your own in the comfort of your homes – on recycled coffee grounds!
Growing mushrooms is easy with a little guidance.
Although you cannot use a normal garden soil, you can use spent coffee grounds. Each batch will give you one or two harvests!
There is no need to sterilize or pasteurize used coffee grounds, since the brewing process does that.
This saves time and effort compared to other mushroom-growing substrates!
Best mushroom varieties for growing on used coffee
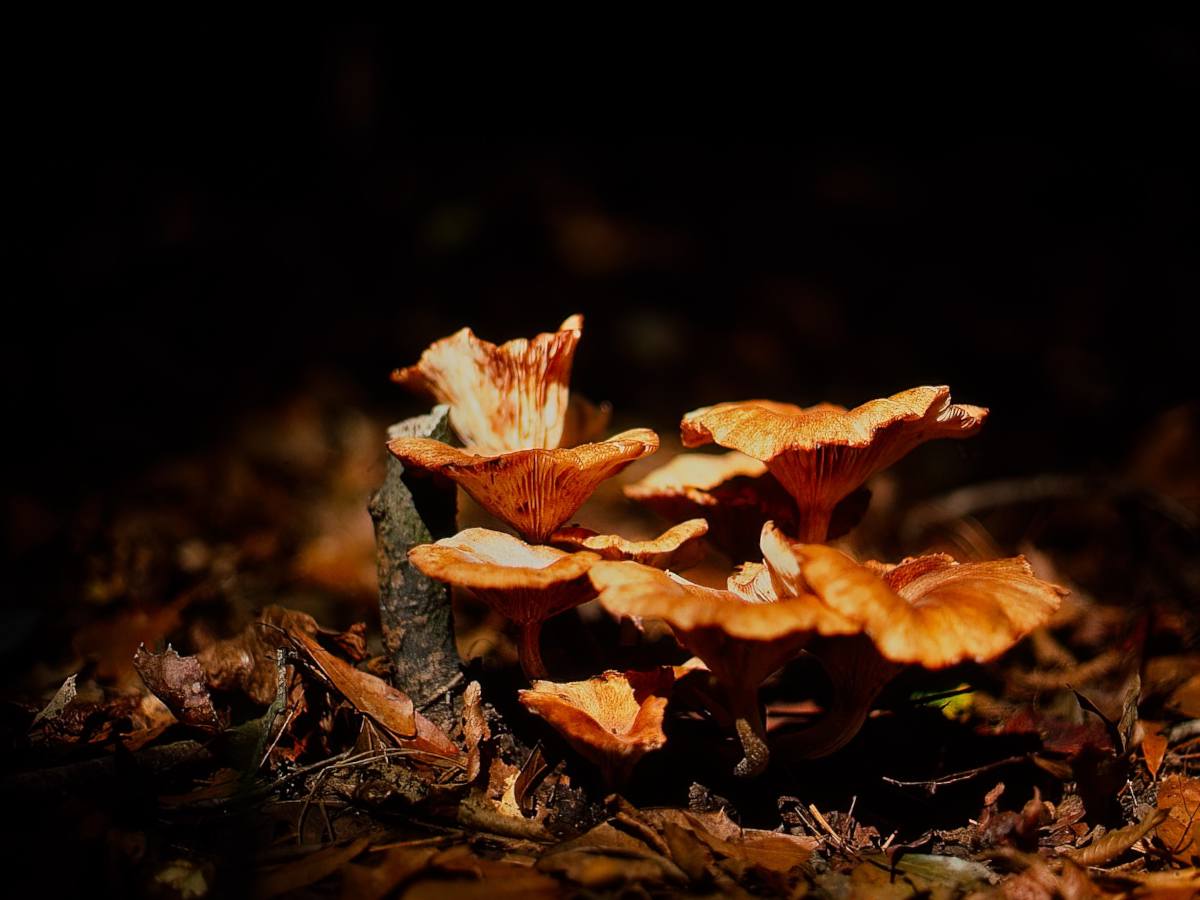
Oyster mushrooms are the variety easiest to manage for home growers.
Why coffee grinds are great for mushrooms
When growing mushrooms, the goal is to make sure the desired mycelium survives in abundance.
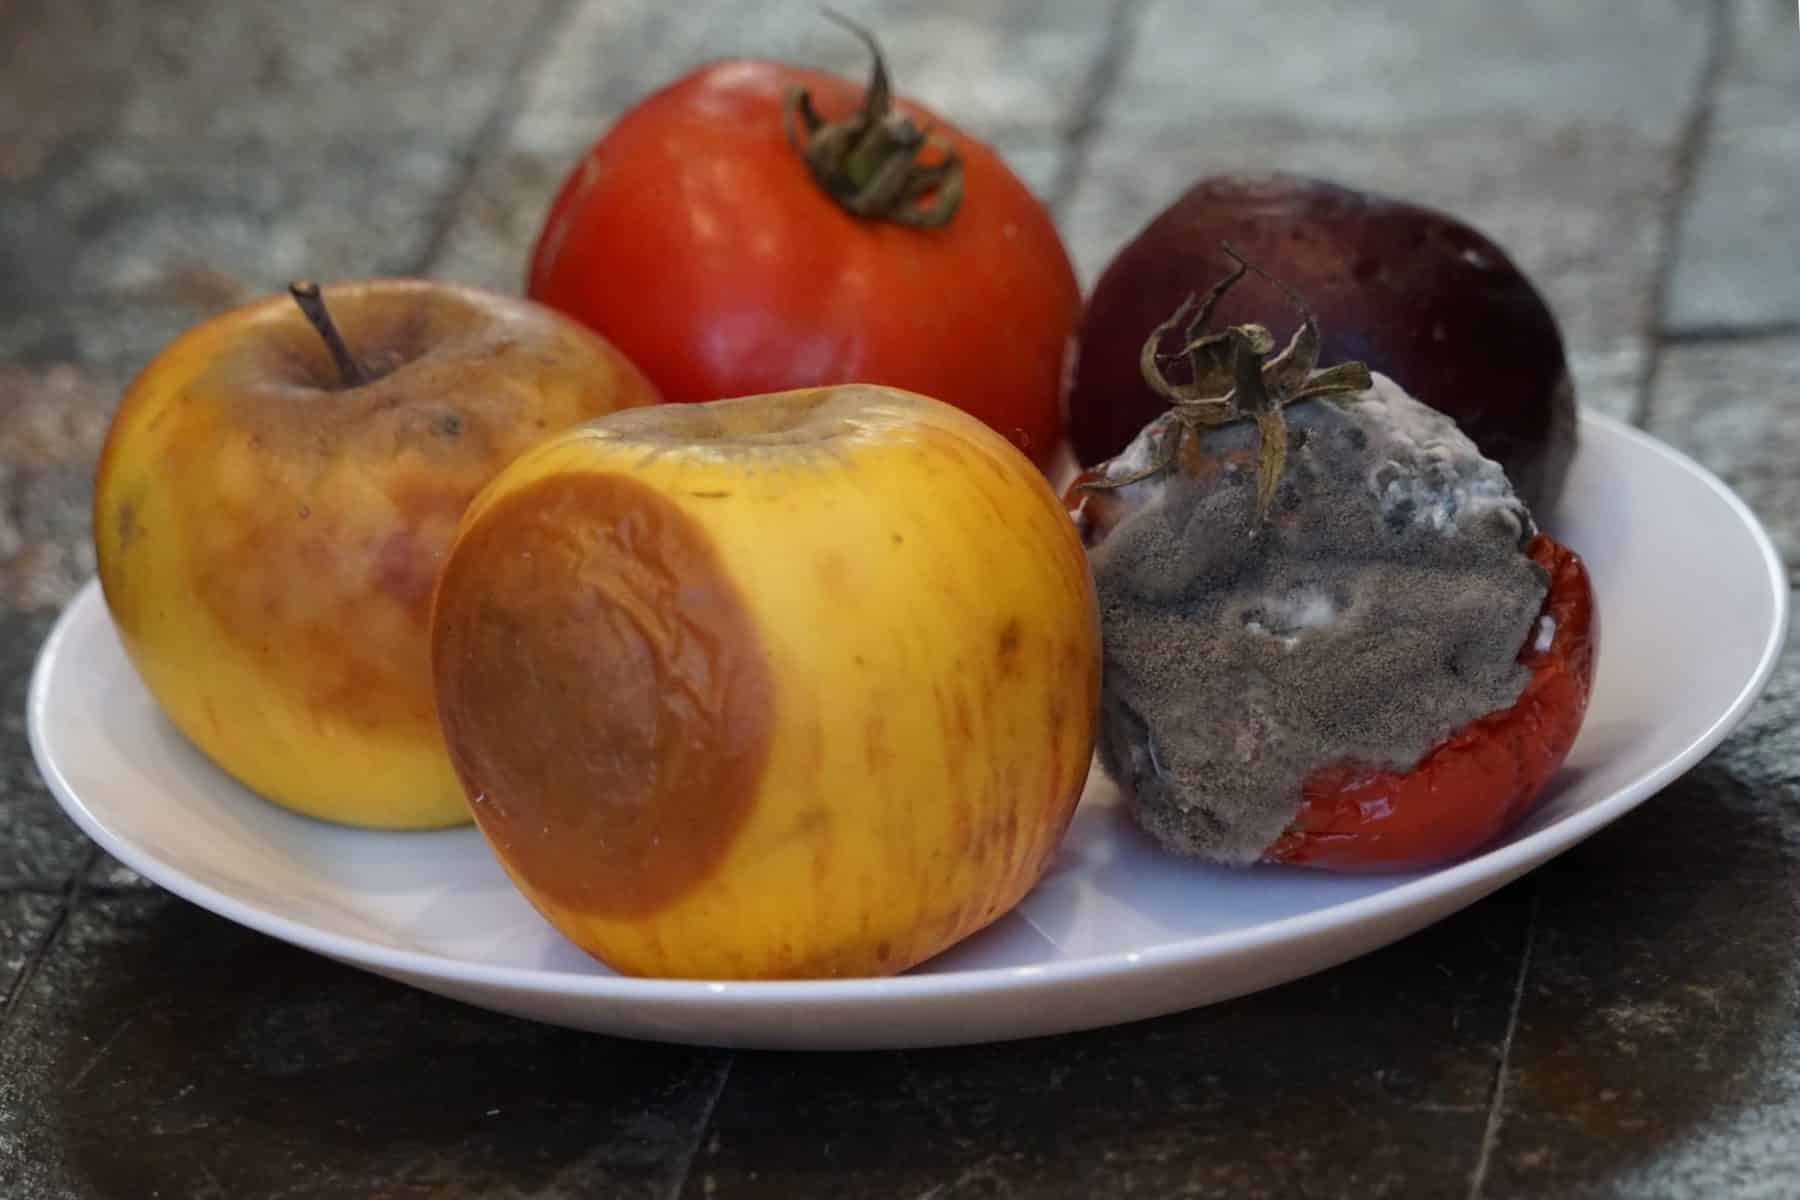
Coffee grounds are so nutritious that many molds will thrive.
Getting the right mycelium to settle in first will give it a head start and repel other undesired molds.
It is best to use coffee grounds while still fresh, i.e. within 24 hours from brewing. The sterilization brought on by brewing with hot water is still effective.
Mycelium is a network of white root-like cells from which mushrooms thrive. This is commonly called “mushroom roots”.
Materials and quantities
Collect coffee grounds from your own kitchen and those from your neighboring houses, restaurants, and coffee shops.
Expresso used coffee grounds are ideal compared to filter coffee as they are drier and therefore, not too wet.
However, filter coffee grounds are still very adequate if left to drip-dry over a sink.
List of materials
Coffee grounds
Oyster mushroom spawn (10% of coffee weight, can be bought from a garden store)
Sterilized straw or sawdust pellets (20% of coffee weight, can also be bought from a garden store)
Growing plastic bags (should contain at least 2½ lbs or 1 kilo each). Upcycle shopping bags or other containers.
70% (or higher) rubbing alcohol or methylated spirits to sterilize equipment
Knife or cutter
Sample computation for 10 pounds (4-5 kg) of coffee grounds, you would need:
1 pound (around 400g) oyster mushroom spawn
2 pounds (about 800g) pasteurized straw to create better air exchange in the substrate
If using sawdust, hydrate the pellets by dunking them in water for a couple minutes and then straining or drip-drying them. Do the same with straw if it’s really dry.
Preparation
Clean the work area
With the alcohol, clean your working surface and mixing container thoroughly. This avoids contamination by undesirable fungus.
Prepare the mix
Pour used coffee grounds in the mixing container.
If there are any pods, tear them and keep only the coffee grounds.
For filter material and soft pods, it’s alright to leave it in the mix. However, any aluminum pods must be removed as aluminum inhibits fungus growth.
Break big lumps to make the texture finer.
Add in the pasteurized straw and the Oyster mushroom spawn.
Mix them carefully until they are evenly spread out.
If growing in less than a couple pounds (one kilo) of substrate, adding pasteurized straw is optional. Having only a small amount means the substrate is less compact and dense. Air exchange is sufficient. For larger quantities, the straw helps draw air into the center of the mix.
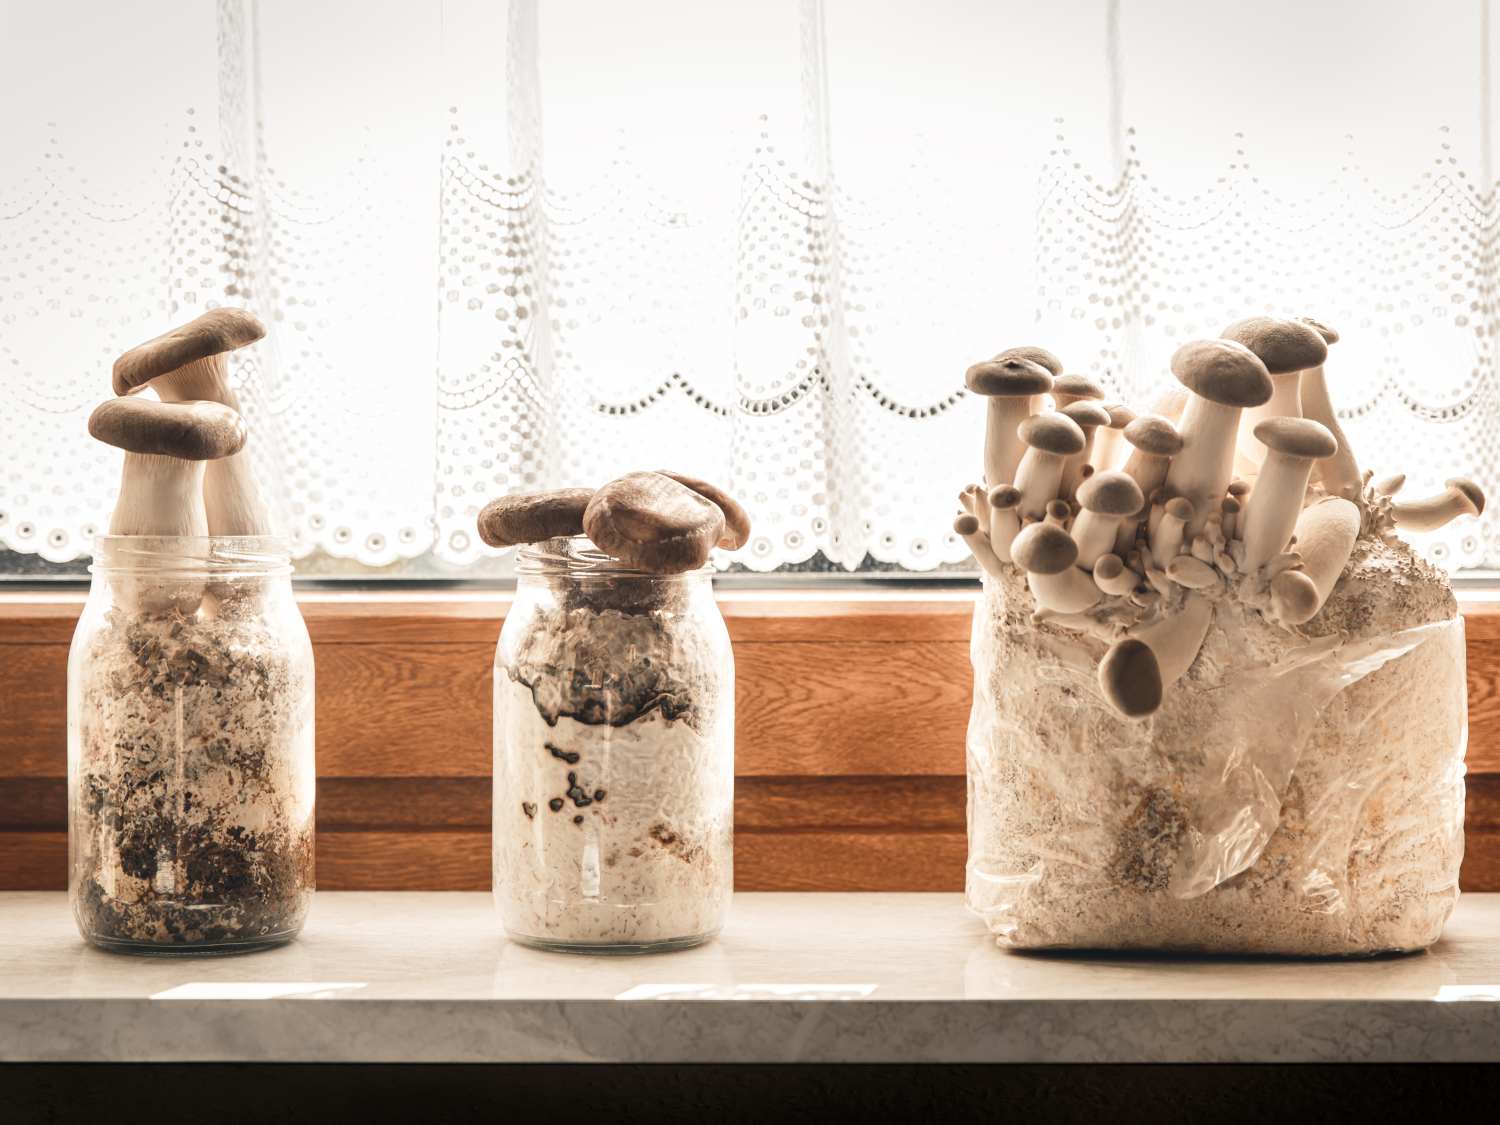
Fill in the plastic bags and seal them.
The original moisture from the coffee grounds is enough to satisfy the mushroom mycelium during the entire incubation phase.
Incubate and track mycelium growth
For 2-3 weeks, put them in a dark, warm area or space. At this stage, no light is needed. Board windows in a cellar or use an old cupboard for this, with holes for basic ventilation.
keep temperatures between 65 and 75°F (20-24°C)
This space should also be humid and clean air should pass through it.
Incubation takes two to four weeks. This is a duration that’s similar for almost all types of fungus, even plant fungal diseases!
Fruiting and harvest
More light, access to open air
Move the bag to a place that’s a bit more luminous. It should get some indirect light, but not a lot. Remove boards on windows and/or open the cupboard.
Using a knife or a cutter, cut some holes (2cm-5cm) on the bags.
Slice a “V” shape and fold the triangle back into the bag to keep it open.
Water misting
Spray water twice every day to avoid drying out.
Simply squirt a mister around the bag to each side of it to increase moisture in the air.
Squirt each hole once to keep the mix from drying out there.
Within 5-10 days, you will start seeing mushroom sprouts. Keep spraying water for another 5-7 days.
Harvest time
You’ll know it is time to harvest the mushrooms when you see their caps start to flatten.
They start out funnel-shaped, and then fill in so the top becomes flatter.
How to harvest coffee-grown mushrooms
You can harvest the oyster mushrooms all at once by twisting the cluster off.
try to remove as much “mushroom material” from the hole as you can. This is only the “fruit” and won’t damage the mycelium which is the mushroom itself.
Second round of growing mushrooms
Once you’re done harvesting, you can still have a few more rounds of mushrooms.
Submerge the plastic bags in water for a night to hydrate the substrate once more.
Use boiled water that has cooled down to room temperature.
Drain it well, slicing a few holes at the bottom for water to drip out.
Close the holes with scotch tape to seal the bag again somewhat (no need to be perfectly sealed – the goal is to avoid contamination from outside molds).
Repeat the incubation process and wait for your second batch of mushrooms!
Depending on spawn vigor and other factors, you can have from 2 to 4 batches on each “preparation”.
Disposing of the spent coffee grounds and mycelium
When the growing cycle is finished, you can add the substrate to your compost or add it directly to the soil in your garden.
 When growing mushrooms, the goal is to make sure the desired mycelium survives in abundance.
 Move the bag to a place that’s a bit more luminous. It should get some indirect light, but not a lot. Remove boards on windows and/or open the cupboard.
 Once you’re done harvesting, you can still have a few more rounds of mushrooms.