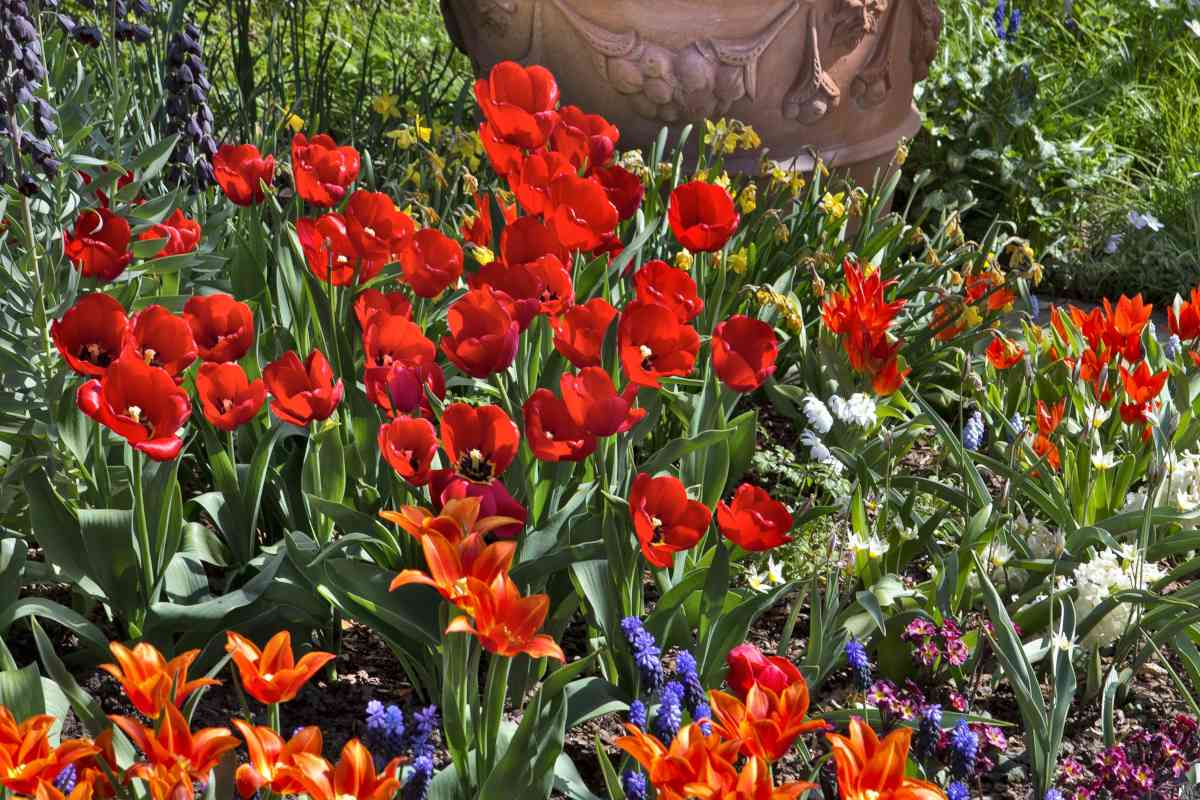
Annuals are often amazing in their variety and they bring fresh change to the garden. The pot-in-pot technique is a great way to make replacing them and caring for them is as easy as pot in, pot out!
.
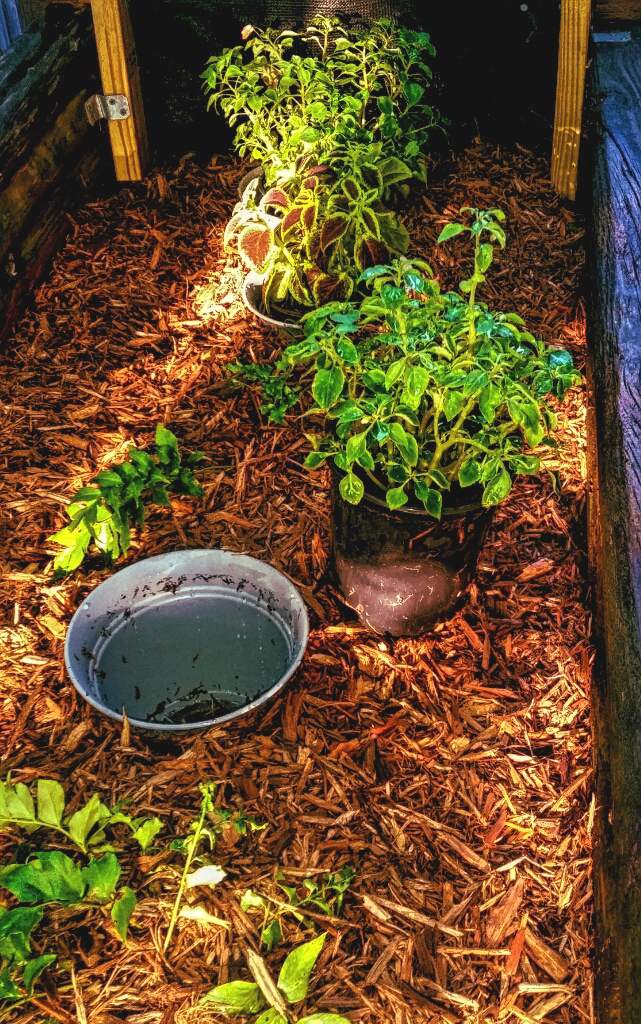
Pots come in many sizes and you can take advantage of this to make your spring gardening very easy indeed. Simply bury a slightly larger pot in the ground and fill it with a smaller flower pot that fits right in!
.
Usually, it’s recommended to plant your flowers directly in the ground. That’s what gives the plant the most freedom to grow and search for nutrients.
But in some cases, it’s best to consider the pot in pot concept for planting your plants in the ground without removing the pot you purchased them in.
To set up a pot-in-pot planting bed, simply do the following:
Usually, this will be either a 4-inch pot (10 cm) for small annuals or a 7-8 inch pot (18-20 cm) for larger ones. The former are sometimes called half-quart pots and the latter gallon pots.
One size larger means the diameter of the pot is around 1 inch across larger than the first pot. When pot sizes are marked in volume, though, the rating almost doubles. Basically you just want a snug fit between the plant pot and the larger pot.
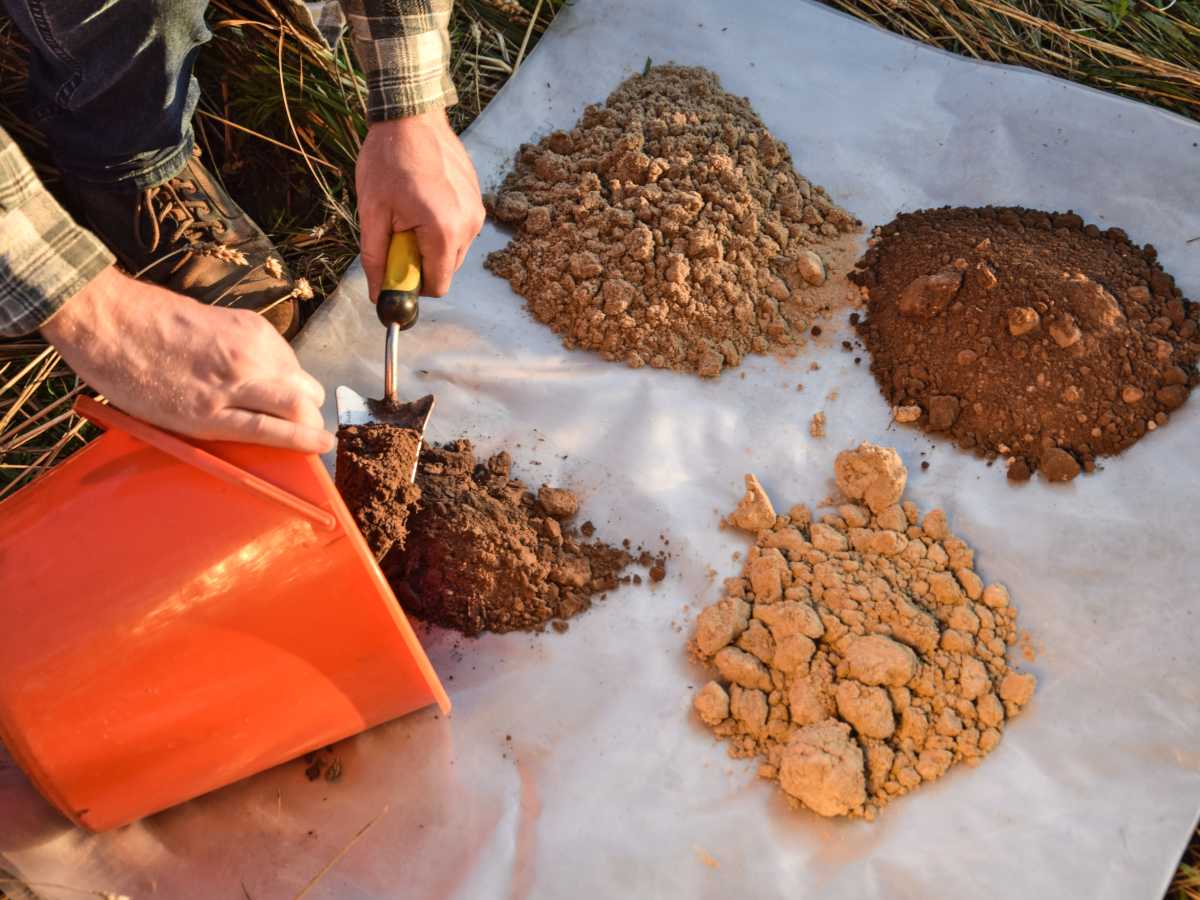
Ensure the rim stays visible, perhaps letting it jut out of the soil by half an inch (1.5 cm). The larger, buried pot should rest on a bed of highly draining material, like clay pebbles or gravel. This pot will stay in the ground year after year.
That’s all! Water thoroughly at first, and you’ll have to keep watering on a regular basis throughout the summer.
You can also use mulch of all sorts to beautify the garden bed, even hiding out the pots if you find them ungainly.
Sometimes you just don’t have time to go into all that hole-digging and dirt shoveling year after year, but there are also other good reasons for using the pot in the ground technique:
More interestingly, this technique is useful when growing and training bonsai.
You can also use this technique to bring your indoor plants out in the summer for a bit of fresh sun over the season. They’ll resist high temperatures better if their root ball and pot are below ground level instead of above it, since temperatures are cooler underground.
 Plants that grow in pots that are embedded in the ground won’t be able to spread their roots out as easily as plants that are free-planted. They’ll tend to send a few roots out of the draining holes.
If you’re using the pot in ground technique for indoor plants, remember that most of the nutrients they’ll find will be those in their own potting soil mix. You’ll have to keep repotting them on schedule, fertilize them or topdress them to ensure they have enough to keep on going.
If you’re willing to use it, you can reduce the need for frequent watering by spreading a few tablespoons of hydrogel powder in the space between both pots.
Usually, summer annuals will die off in fall or at the beginning of winter. You can pull them out when flowers have wilted and discard them in the compost, or let them be during the winter and only replace them directly come spring.
But when replacing pots in your garden is so easy, why not replace them with winter-blooming flowers such as heather? You’ll be able to switch them back to summer flowers in spring. And you can probably set those winter flowers in their own buried pot bed in a cooler, shady place that will protect them from the summer heat and sun.
Credits: Keith Hall