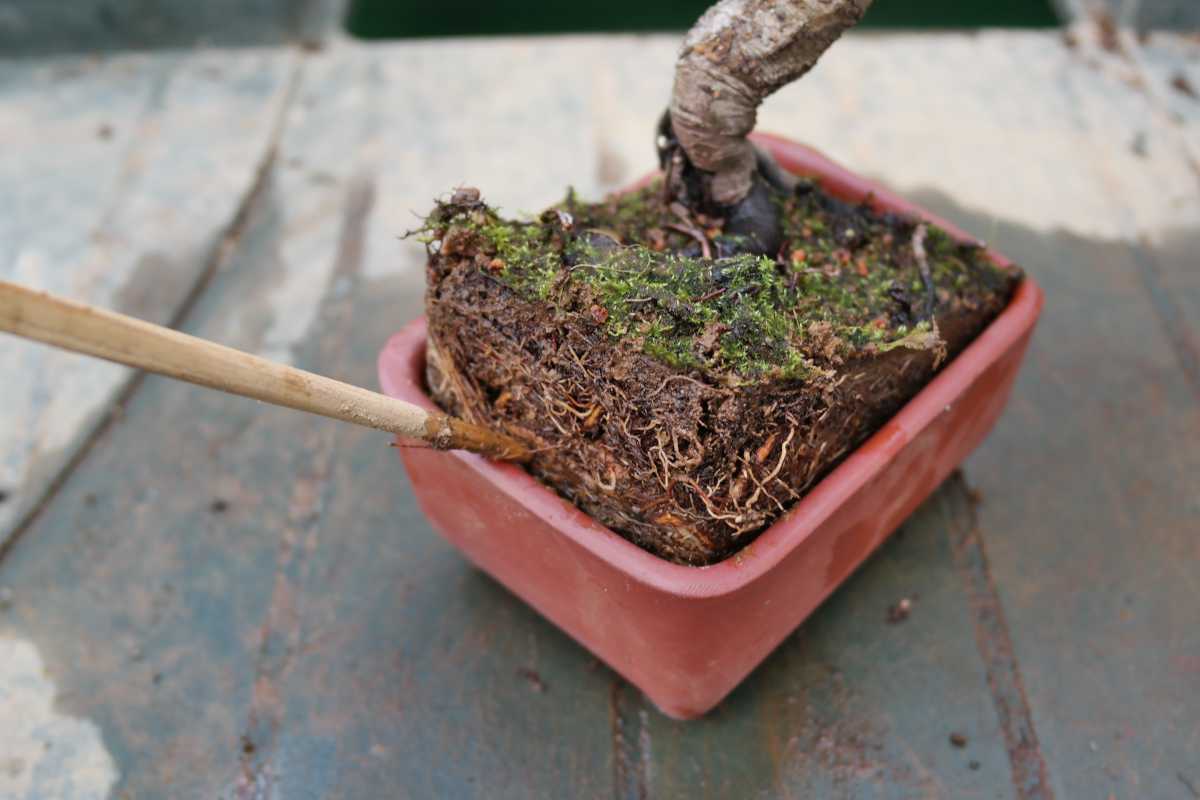
A bonsai needs repotting rather often, every 1 to 3 years, to ensure the tree gets the nutrients it needs – even if you use the same pot every time.
Indeed, when the the bonsai is mature and formed, its size won’t change anymore. Don’t repot to a larger pot since the aim is to maintain a harmonious balance between the size of the tree and that of its pot. However, one thing must absolutely be replaced: the substrate.
The tree’s roots end up depleting all the nutrients and minerals from the substrate. Fertilizing regularly isn’t enough, because the substrate cakes up in time, becoming more compact. Roots can’t breathe anymore and start dying off. The tree would end up dying.
Smart tip:
A simple trick to know whether a bonsai needs repotting or not is to tease the clump out from the pot: if roots start circling around the pot and begin to tangle at the surface of the clump, time to repot!
The ideal season is when the tree starts budding, usually between March and May, depending on the species. In rare cases, October is better. The winter period isn’t a good choice, because the tree needs to be able to send new roots out to quickly recover. Summer also isn’t good because it gets too dry and hot.
Repotting frequency and timing depend far more on what kind of tree you are growing than on the pot itself. The table below gathers the rhythms and mixes described in this article so you can place your own bonsai at a glance.
| Type of bonsai | Repotting frequency | Best time to repot | Substrate to use |
|---|---|---|---|
| Fast growers (willow) and young, unformed bonsai | Every year | Early to mid-spring, as buds break | Moist, large-grained mix (e.g. 60% pine bark, 20% river sand, 20% akadama) |
| Deciduous trees | Every 2-3 years while young, then every 3-4 years | Early to mid-spring | Humus-rich, cool soil with plenty of decaying leaf matter |
| Conifers | Every 3-4 years while young, then 5-6 and up to 8 years when old | Early to late spring (larch earliest of all) | Very free-draining and slightly acidic (e.g. 60% river sand, 20% akadama, 20% composted bark) |
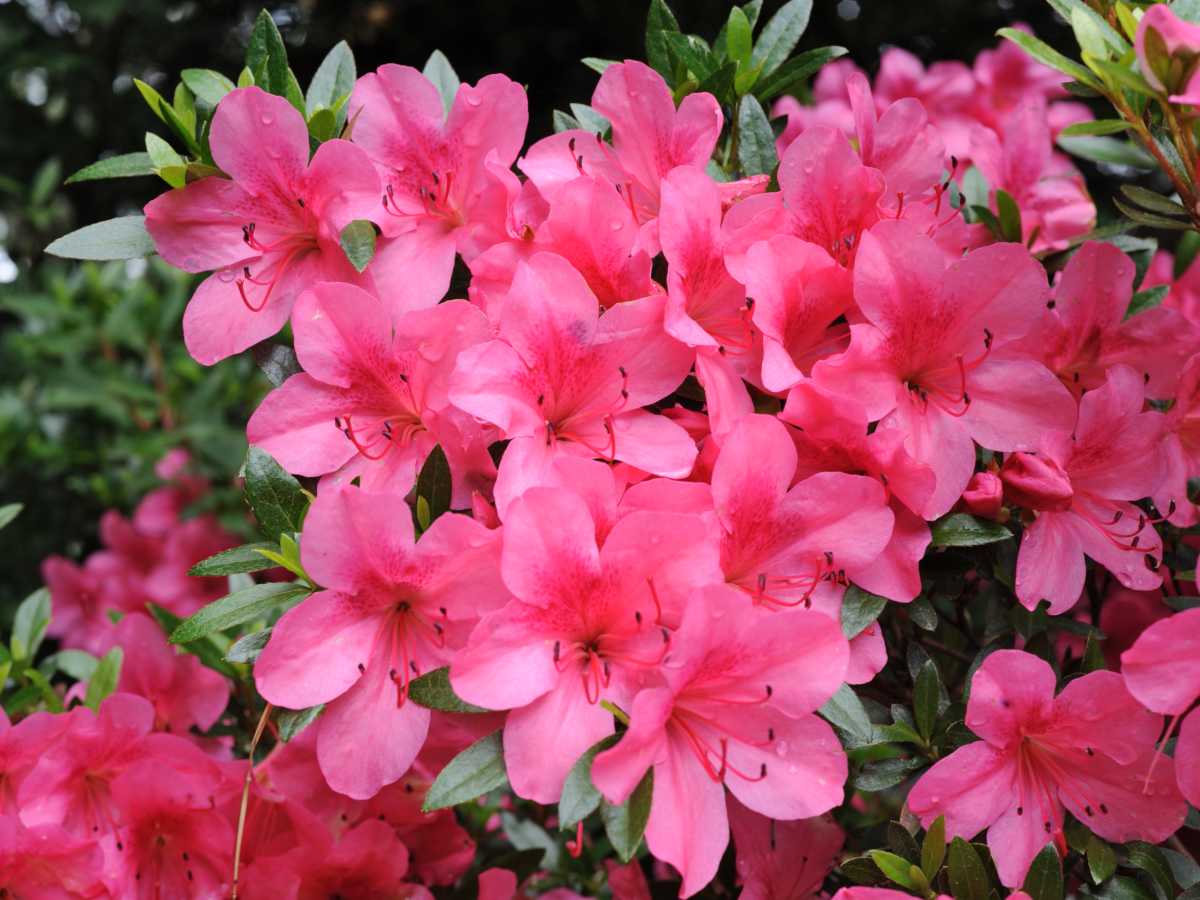
| Azalea and other heath-soil (kanuma) bonsai | As for other flowering trees | Late spring, or after flowering if that comes later | 80% kanuma and 20% akadama |
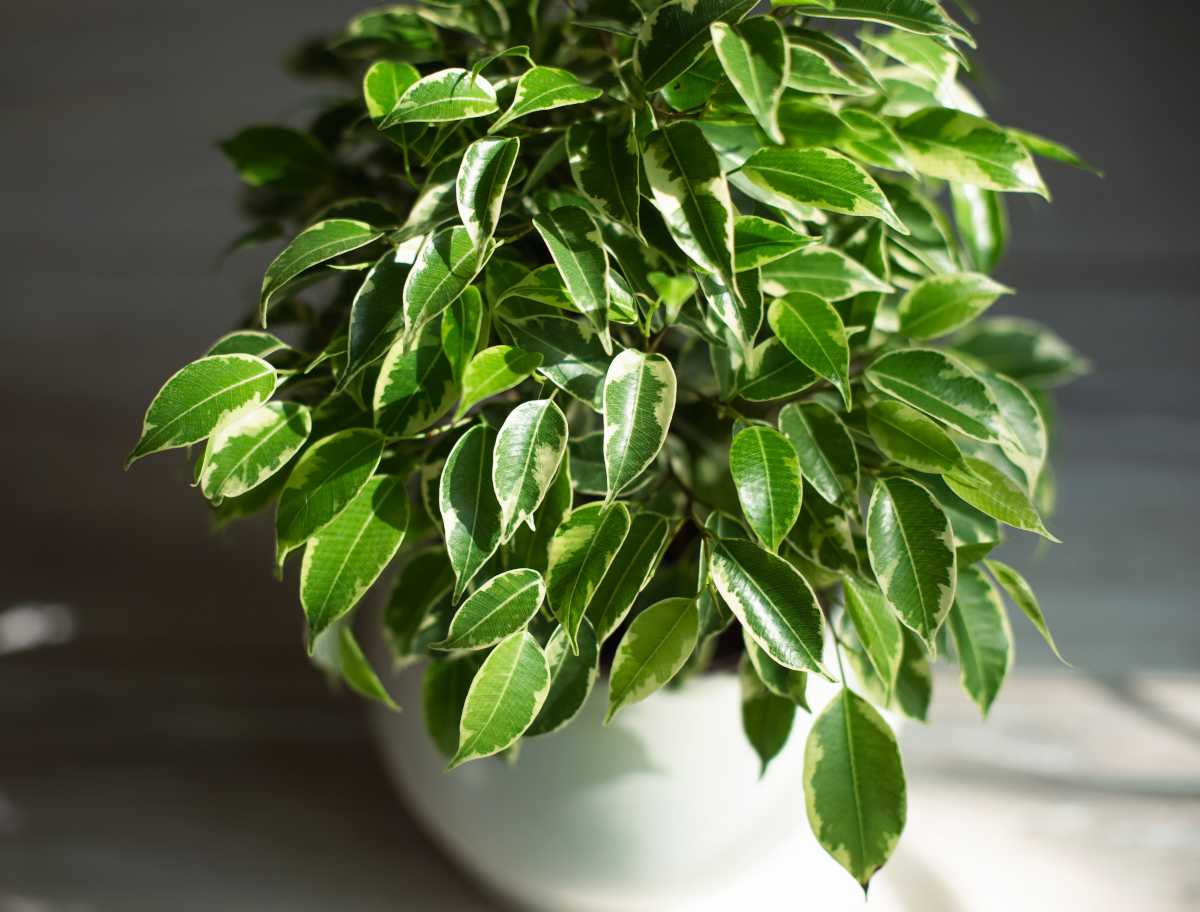
| Indoor and greenhouse bonsai (olive, pomegranate, citrus) | As for other bonsai of the same vigour | Late spring | 25% garden soil and 75% nutritious soil mix |
Whatever the species, the pot stays the same size: only the tired, caked substrate is renewed.
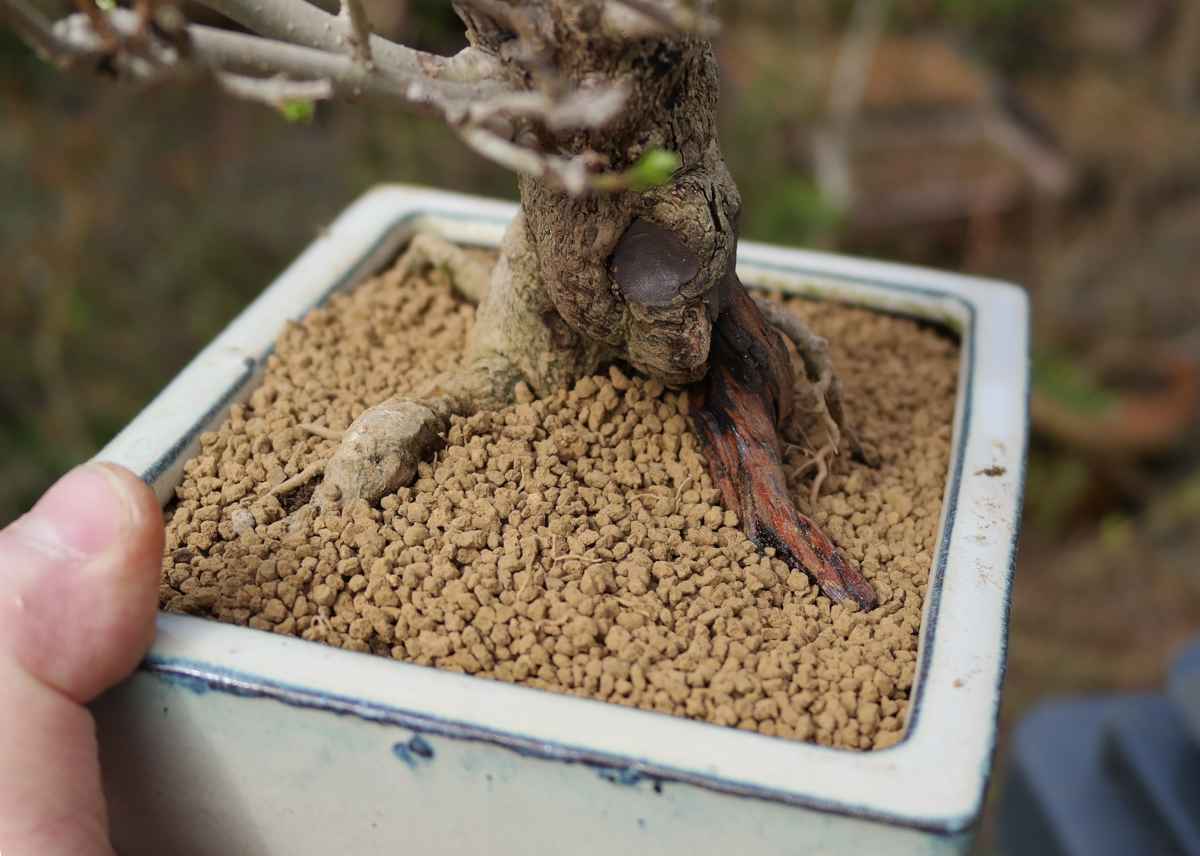
There are special substrates for bonsai derived from actual Japanese soil: akadama, kanuma (for acidic-soil-loving plants) and kiriu (for conifers). You can use these pure, or mix them together. These dehydrated soil types have the advantage of being very stable and ensure great drainage. However, they don’t contain any nutrients. Adding slow-release fertilizer pellets is recommended. You can replace all of these specialty items with more conventional products, too. Getting the perfect substrate for each bonsai would require pages and pages of information! At least, with these hints, you can get started.
Just remember this:
Stop watering for a few days before repotting. This makes removing the root ball much easier: all you must to is tap the bottom of the pot a bit. Select a pot for which the depth doesn’t exceed the width of the trunk. Make an exception for young, still-growing trees: these need more soil.
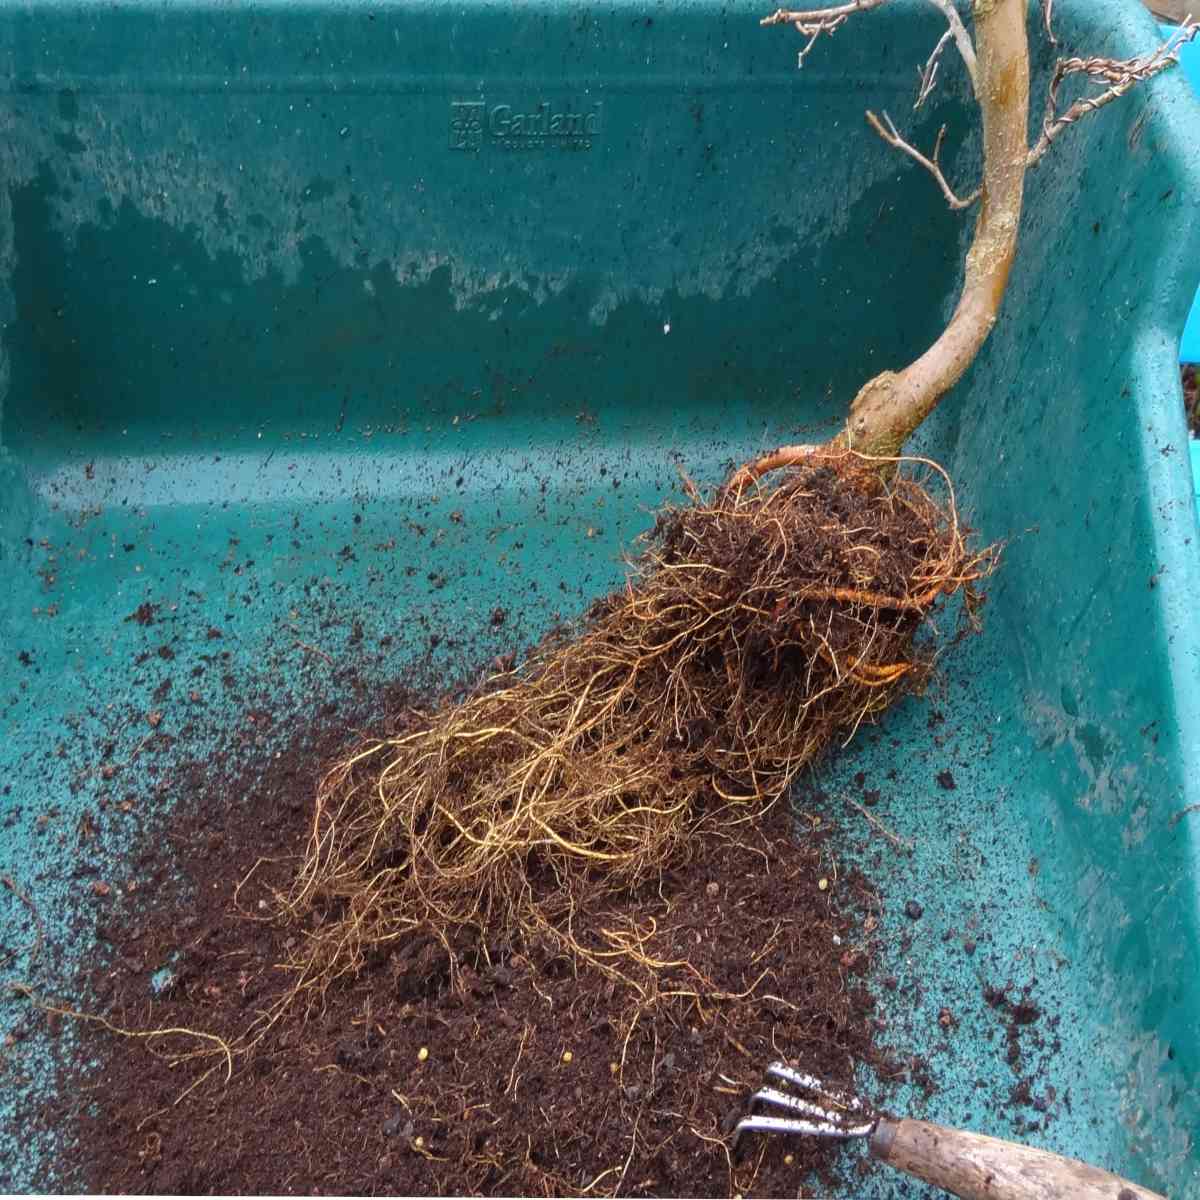
Soak the new pot in water to let it absorb moisture. Use chopsticks and soft brushes to untangle the tree’s roots and remove the soil from within the root ball.
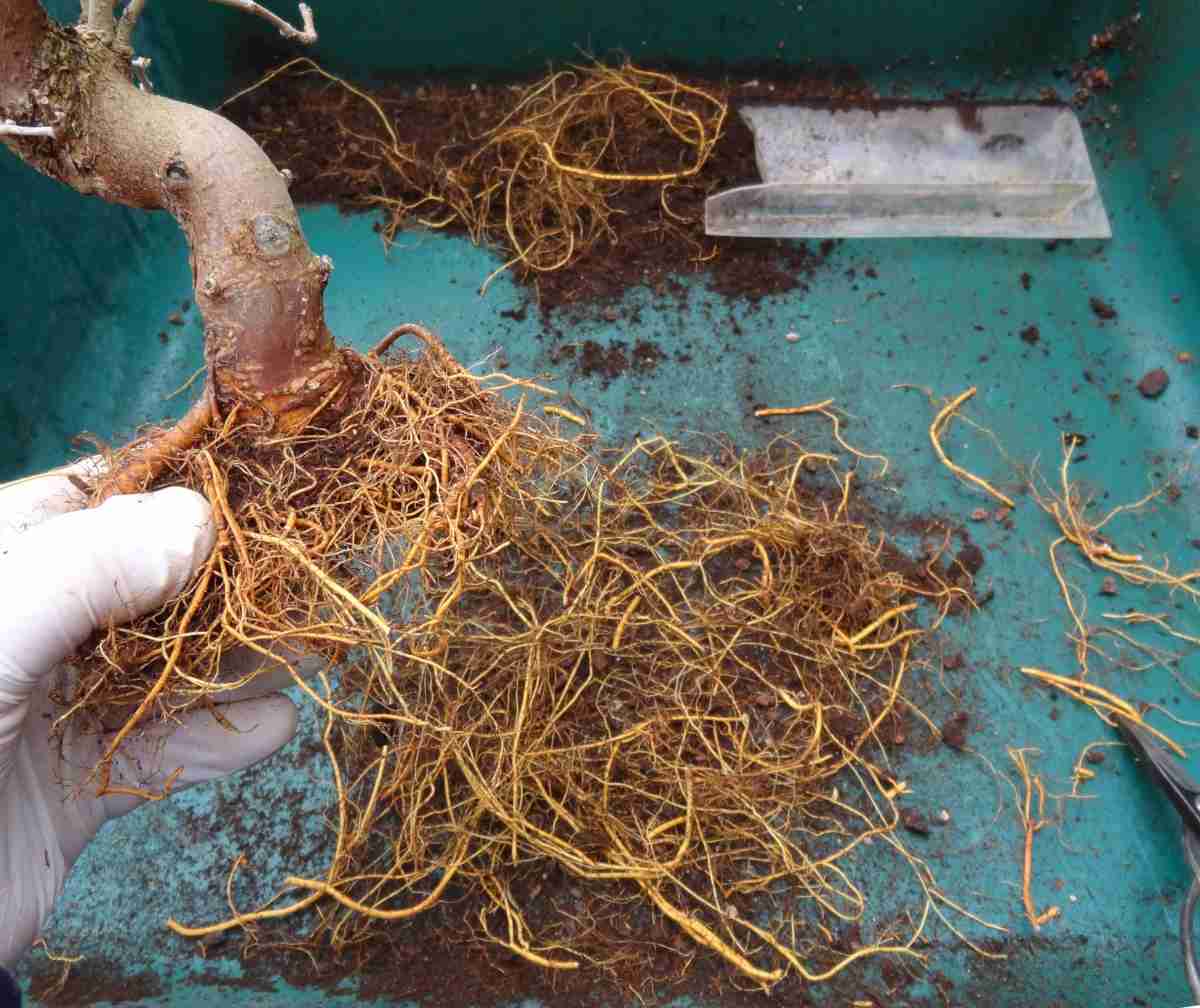
With sturdy scissors or pruning shears, remove at least ¼th of the root length on the sides and bottom.
Also cut out malformed roots and thin some out if they’re too abundant.
However, don’t cut any of the largest roots off. At most, shorten them to fit the pot.
If needed, wind a galvanized copper wire through the drainage holes to tie the tree down in its new pot.
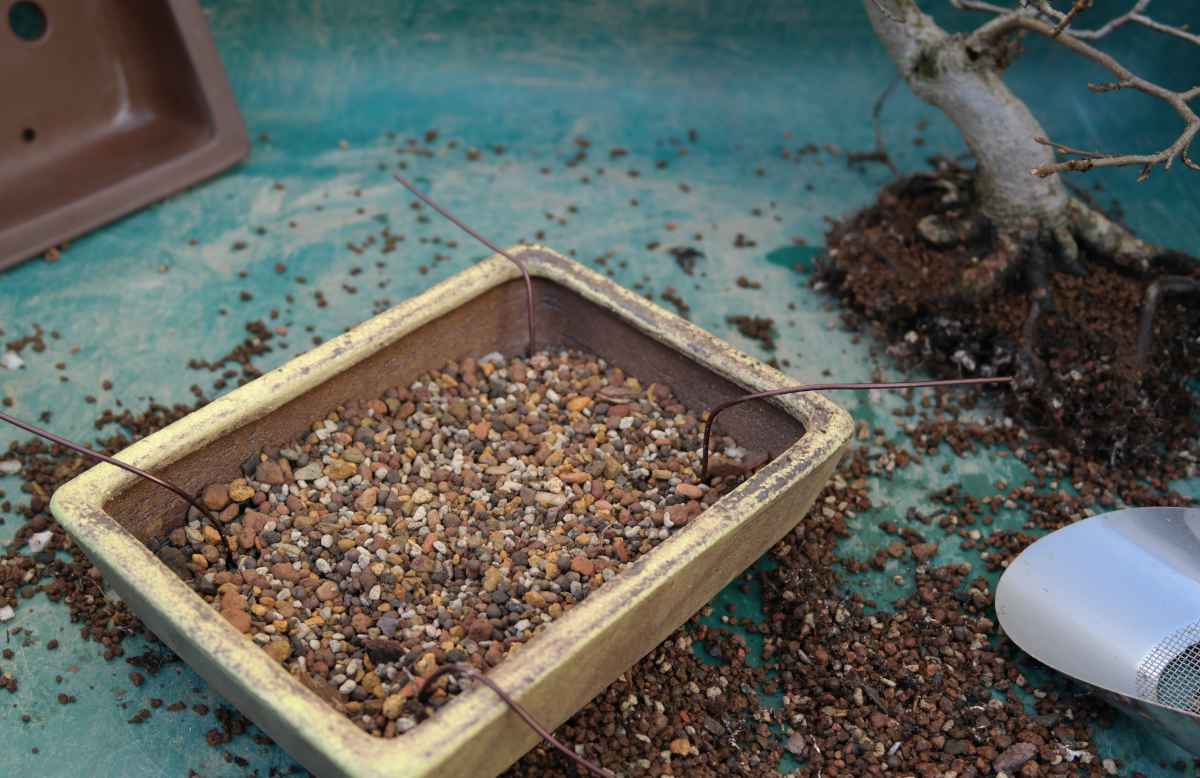
Pour a layer of drainage along the bottom of the pot, and rest the bonsai atop it. Stuff the new soil through the roots with the brush or chopstick.
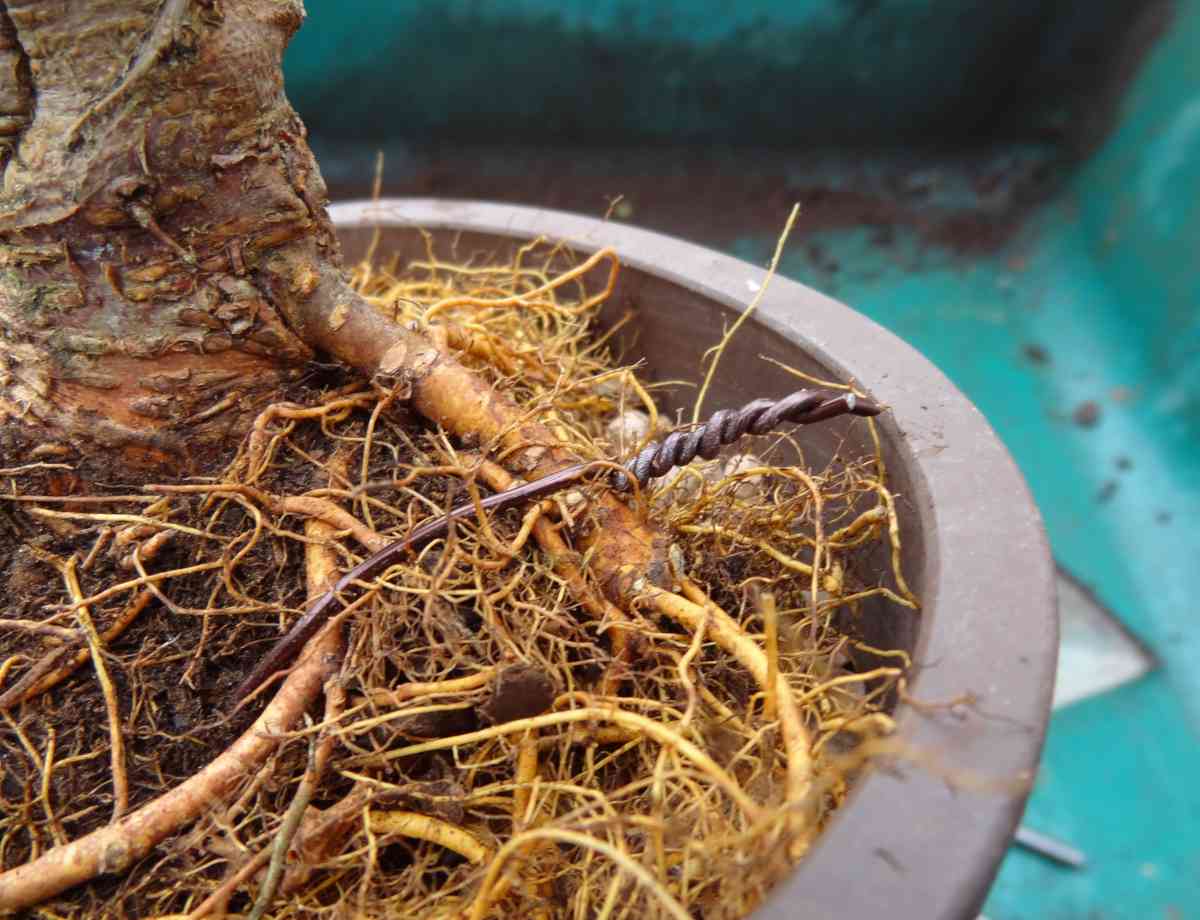
Tie the copper wire around the larger roots.
Cover with sieved, fine soil and press it down with your hand or a wood block.
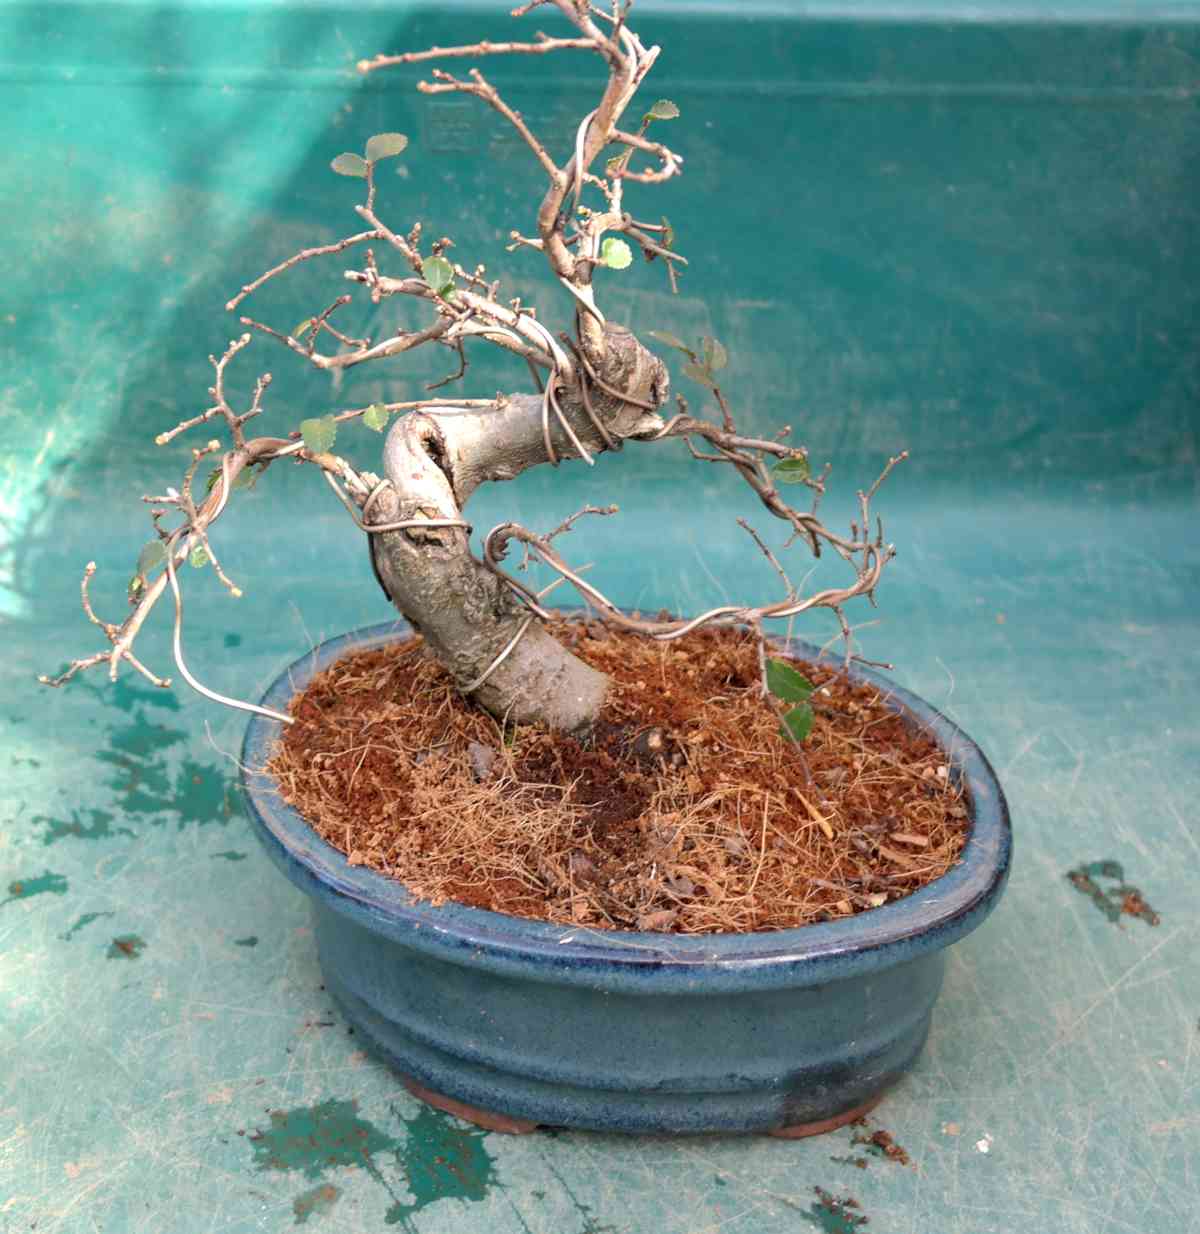
Soak the entire pot in a basin with water for a few minutes.
Optional step: Add a fine layer of mulching pebbles or moss to finish the job!