Repotting orchids – when, how and special tips to repot well
·
0
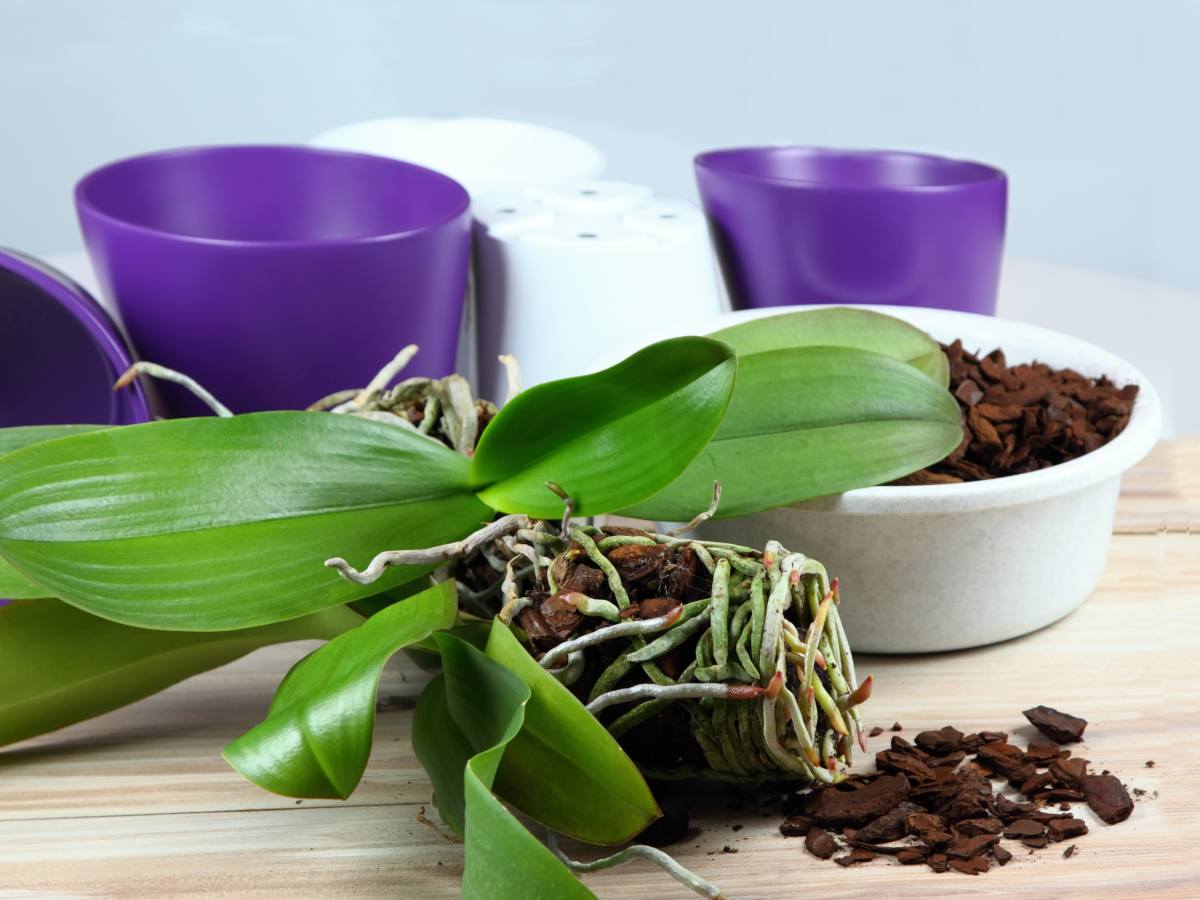
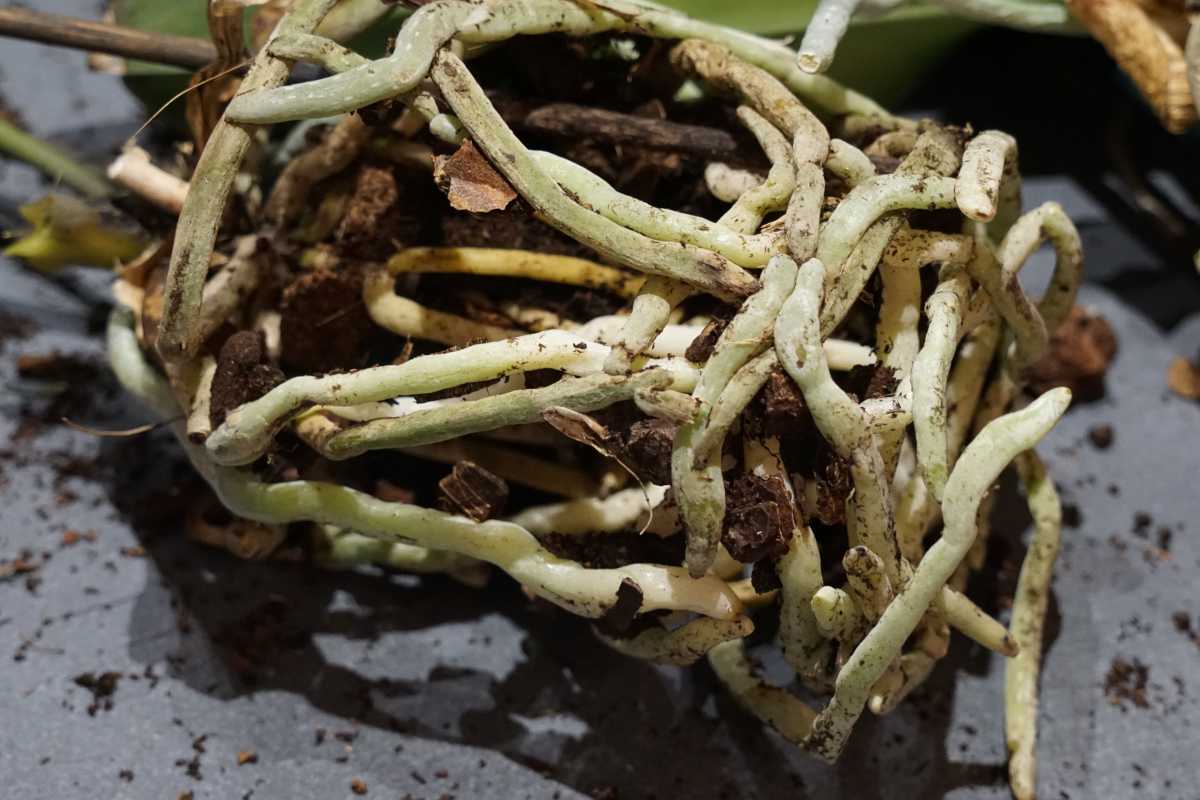
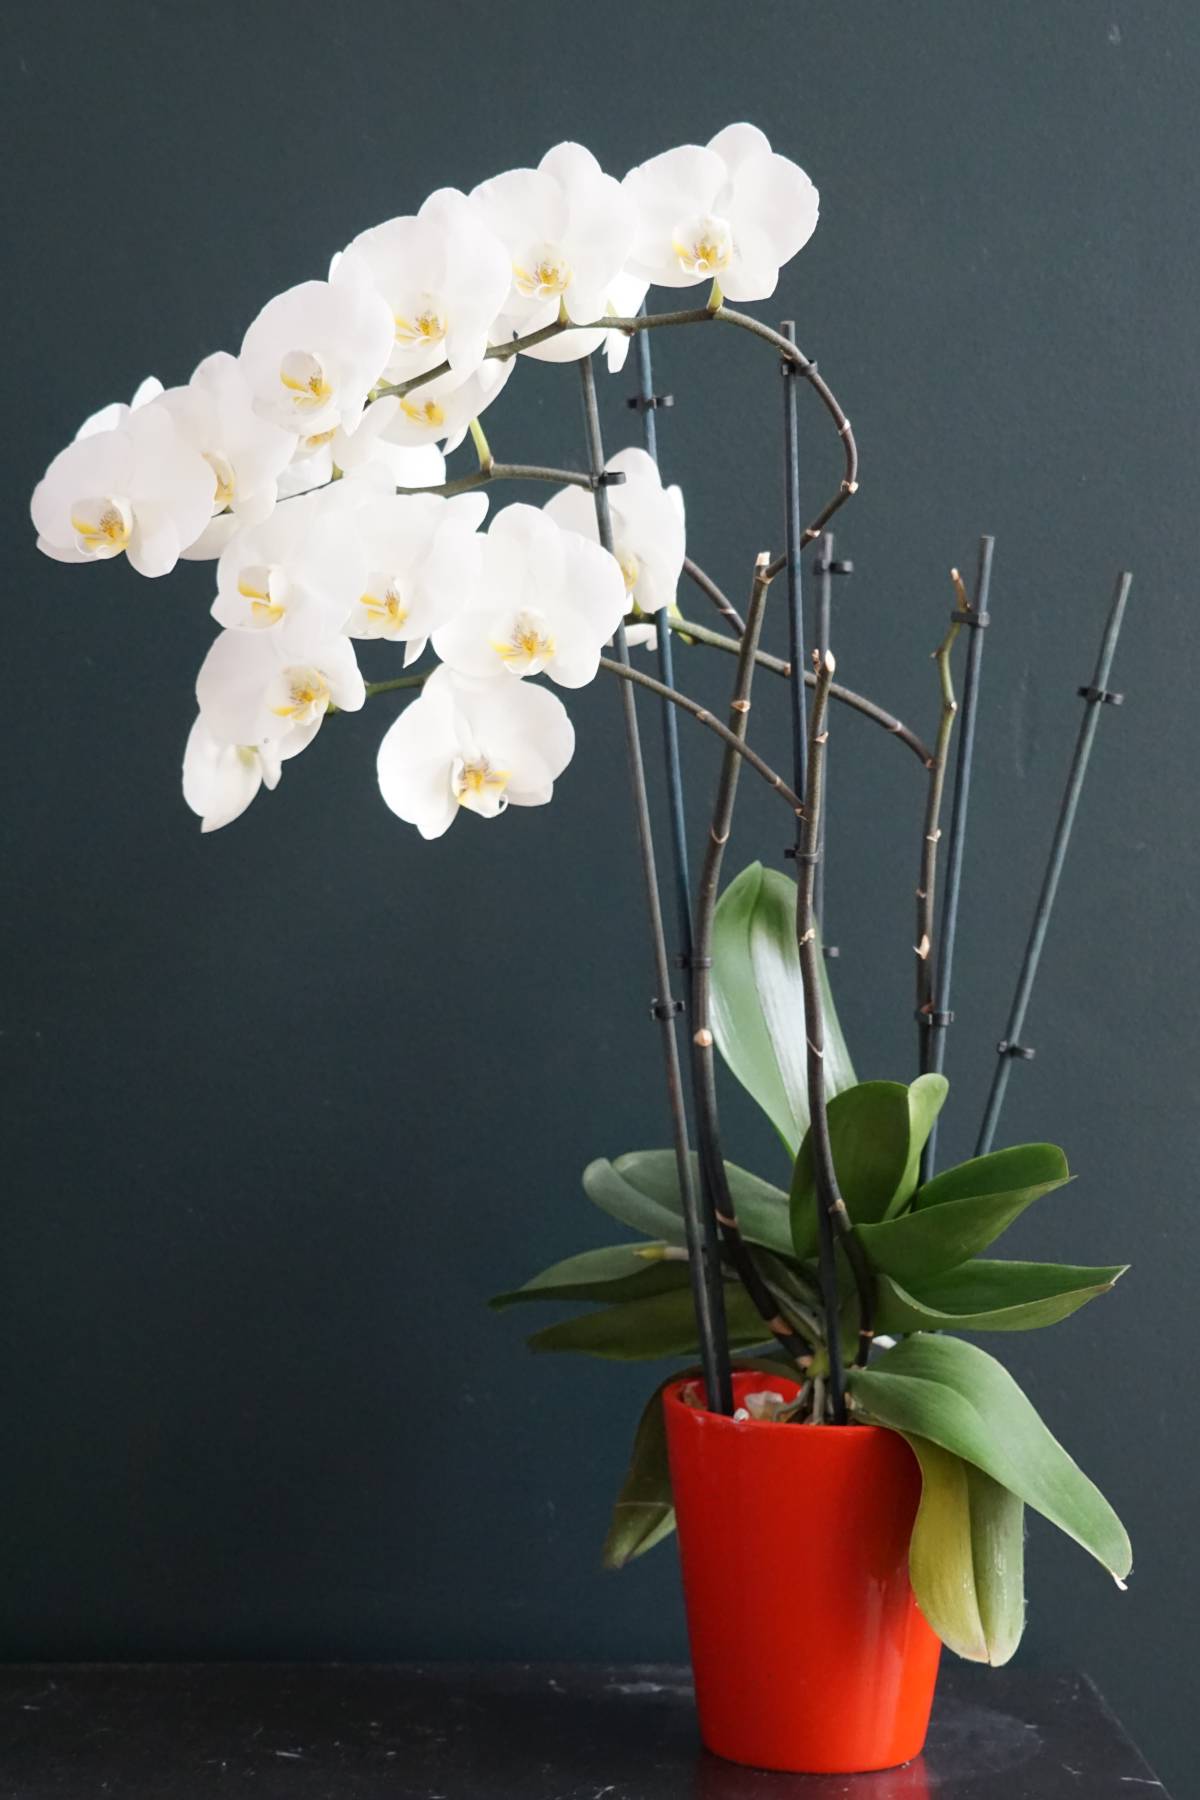
Thick pale roots coiling through chunks of composted maritime pine bark, and a plant looking tired once its flowers have faded — that is an orchid ready for a new pot. Repotting every two or three years puts the vigour back, provided the pot is only very slightly larger than the last, so the roots still feel the tight space that triggers a bloom.
Video care on how to repot an orchid
Repotting usually takes place every 2 or 3 years, in any season provided it is after the blooming.
This plant doesn’t like being disturbed, and repotting it too often might weaken it.
Signs that an orchid needs repotting include bark that has broken down into a fine, soggy crumb, or a plant that wobbles because its anchoring roots have rotted; stray aerial roots wandering over the rim are normal and not, by themselves, a reason to repot.
Do not repot an orchid while a flower spike is lengthening or in bud, as the disturbance often causes the buds to yellow and drop before they open.
If the substrate smells sour or the roots feel soft and brown from waterlogging, repot the orchid straight away rather than waiting for the usual two to three year cycle.
Growing an orchid in a transparent pot lets you see root colour and medium moisture through the sides, which mainly helps with watering decisions, though visible root crowding and medium breakdown better indicate when repotting is due.
How to choose the right pot for repotting
The new pot must be chosen based on the size of the plant.
It should neither be too small because the orchid might lose its balance, nor too big because roots must feel that space is tight to develop into a bloom.
Generally, simply select a pot that is only very slightly larger across than the previous.
Choose an orchid pot with generous drainage holes, and preferably side slits as well, since orchid roots rot quickly if water stagnates around them in the bark mix.
A clear plastic pot suits orchids such as phalaenopsis mainly because you can see at a glance whether the roots are plump and green or brown and rotting; their roots do contain chlorophyll, though this adds little to the plant’s overall growth.
Orchid roots often cling to unglazed terracotta and can tear at repotting, so soak the pot first to loosen them; many growers still prefer clay for its breathability and stability.
If the orchid is tall and top-heavy, slip its plastic pot inside a heavier decorative cachepot for stability, but tip out any water that collects in the bottom after watering.
Adequate substrate and soil mix
The one called “orchid soil mix” on the market is perfectly suited.
It usually contains high amounts of composted maritime pine bark.
It’s possible to make your own from bark and other ingredients. You might have to observe how the plant is doing to adjust the contents, though.
At repotting, replace the old pine bark rather than reusing it: over several years it breaks down into finer particles that hold more water and less air, conditions that can stress roots and favour rot.
Match bark grade to root thickness: thick-rooted orchids such as phalaenopsis and cattleya generally do well in medium to coarse bark, while fine-rooted types prefer a smaller grade that holds moisture longer.
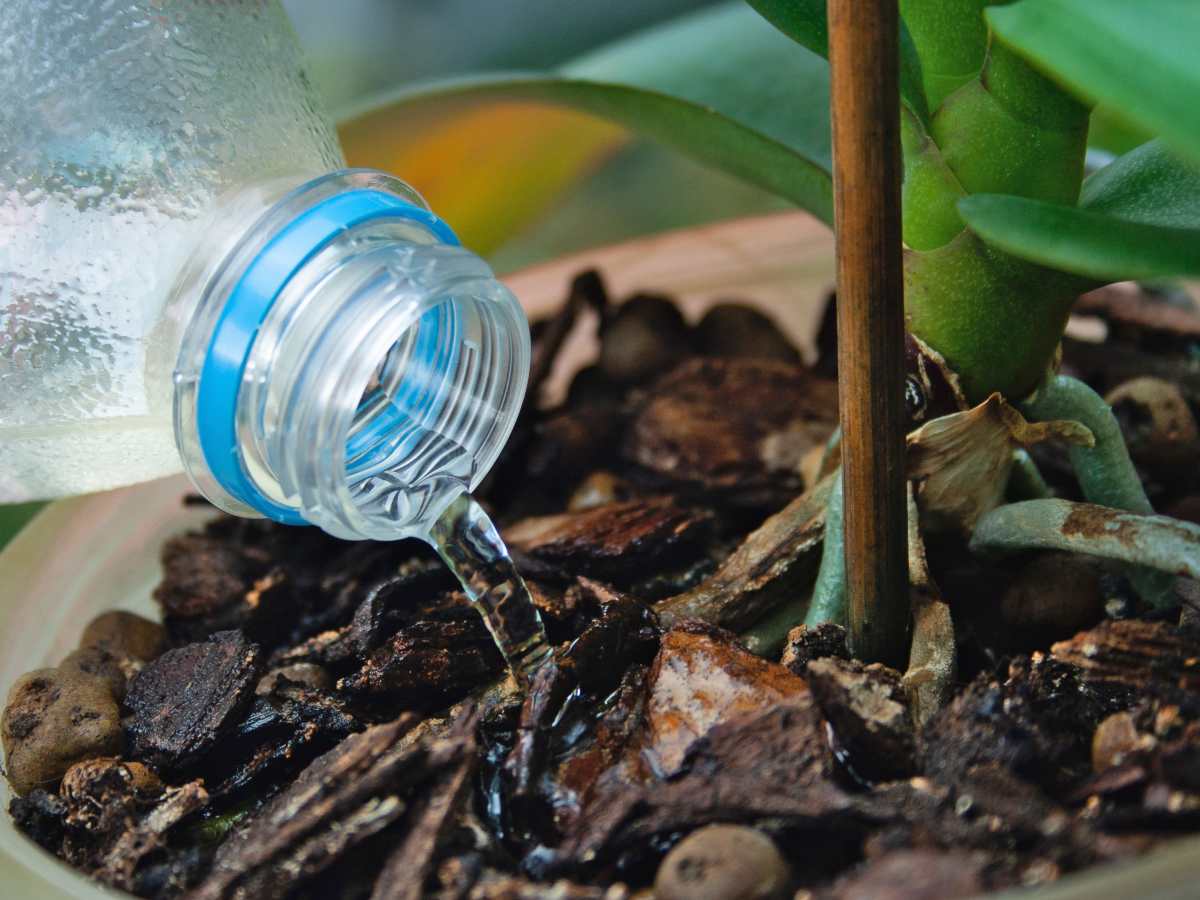
Soak new bark in water until it is thoroughly saturated and let it drain before potting, because dry bark is hydrophobic and resists rewetting, so it would otherwise hold little moisture for the roots.
How to repot the orchid
Hold off watering for three or four days after repotting
Delicately pull out the plant from its present pot.
Clean up the root system: damaged or rotting roots.
For that, use a previously disinfected cutter blade or shave.
Also eliminate wilted flowers and any weak or broken stems you might see.
Fill in the bottom half of the new pot with the substrate.
Place the orchid in the center.
Backfill the rest of the pot with substrate, pressing down ever so lightly.
Keep the plant in a moist and warm environment but without any direct sun. Don’t water for 3 or 4 days.
Your plant will now need several days to get used to this new pot and the roots will need 1 to 2 weeks to heal their wounds.
Repotting timeline: what happens and when
Repotting an orchid is not a one-day operation: the plant needs a recovery period before it behaves normally again. Here is the sequence described above, summarised.
Repotting timeline: what happens and when
When
What is happening
What to do
Every 2 to 3 years
Time to move the plant to a new pot
Repot in any season, provided it is after the blooming
The first 3 to 4 days after repotting
The plant is vulnerable and must not be soaked
Keep it moist and warm, out of direct sun, and do not water
Several days after repotting
The orchid is settling into its new container
Leave it undisturbed while it gets used to the new pot
1 to 2 weeks after repotting
Cut and damaged roots are closing over
Be patient, the root system is healing its wounds
Once these stages are past, the plant should be stronger and ready for a new bloom.
Images: adobestock: svehlik; own work: Rosalyn & Gaspard Lorthiois
Written by Gaspard Lorthiois | Loves helping out, especially when it comes to growing things. Worked in herbal medicine, runs a farm, and dabbles in tech. Master's degree and engineer.