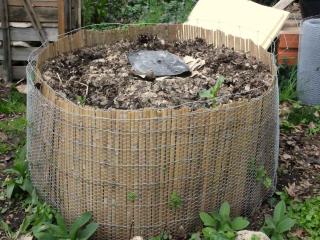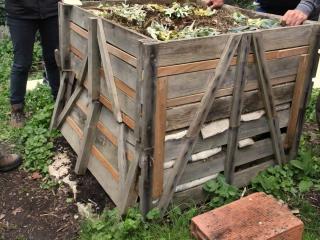

Most root vegetables could stay in the ground until their consumption during winter. However, they are often harvested in fall because soil is still loose. Freezing indeed makes harvesting difficult, and in the ground, root crops often perish from excess cold, moisture, or are nibbled on by hungry animals. If you do not have a cellar, it is possible to create a buried or above-ground silo to preserve them better. Here are a few construction techniques.
The silo’s role is to keep vegetables safe from biting cold, moisture, and rodents.
That’s why, in light and well-drained soil, you can simply leave your root vegetables in place in the ground. Just spread a good layer of leaves or dry straw covered with a plastic tarp to insulate them from the cold and moisture.
A silo also makes it easier to retrieve a few vegetables for cooking every now and then. You don’t need to labor with the spade in hard soil.
The main vegetables you want to protect are carrots, turnips, celeriac, parsnips, rutabagas and beets.
 For vegetable harvesting, choose a dry and sunny day. To pull out the roots without injuring them, pull on leaves as much as possible. It helps to use a broadfork or spading fork for leverage to lift the soil up.
It’s a cinch to build a root cellar in a basement or garden using just a few cinder blocks with straw or dried ferns for insulation. This insulating layer helps maintain a constant temperature between 32 and 39.2°F (between 0 and 4°C).
 followed by a new layer of straw, leaf compost, fiber, or even untreated wood chips or sawdust. This material should ensure effective insulation and ventilation to prevent the vegetables from rotting.
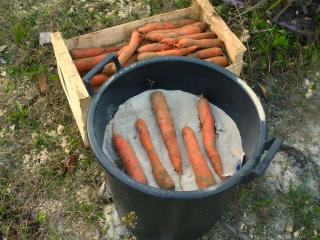
You can also use a large plastic trash bin with its lid:
 Set up your trash bin against a wall in a sheltered area of the garden or in a garage,
An old washing machine drum, buried in the ground, can also serve as a root cellar!